Well, that won’t work! What happens when you want to add an element to an image, but it’s facing the wrong direction?
Hey there! I’m Cara and I’ve run into this many times as I’m putting images together, especially for product photography. Luckily, Photoshop makes it super easy to fix this issue.
In this tutorial, I’ll show you how to flip a layer or image in Photoshop.
Note: the screenshots below are taken from the Windows version of Adobe Photoshop, if you’re using the Mac version, the navigations may look slightly different.
Table of Contents
How to Flip a Layer in Photoshop
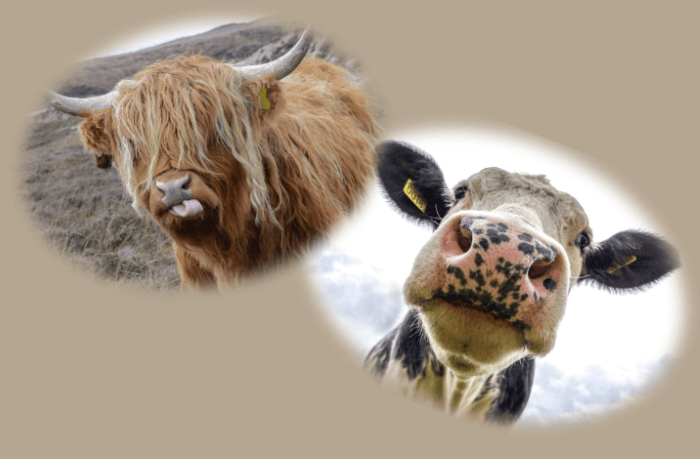
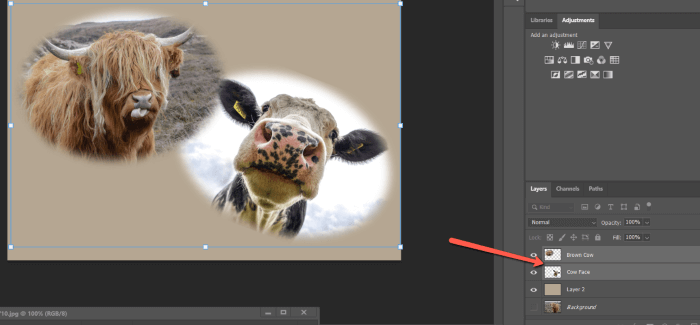
I have this image that I’ve created and I want to flip the cow on the left to be facing the cow on the right. So the first step is to make a selection.
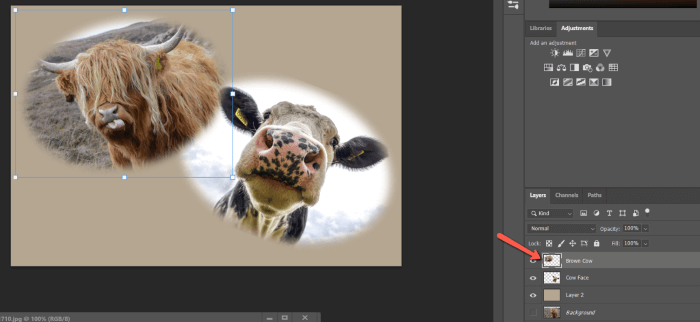
Step 1: Select the layer with the brown cow in the Layers panel. You’ll notice that a blue box appears around the layer you’ve selected.
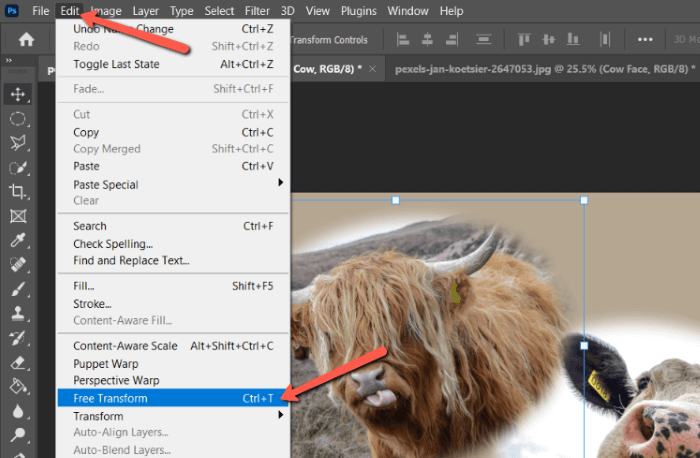
Step 2: Activate the Transform Tool by hitting Ctrl + T (Command + T on a Mac) on the keyboard. Alternatively, you can go to Edit in the menu bar and select Free Transform from the menu.
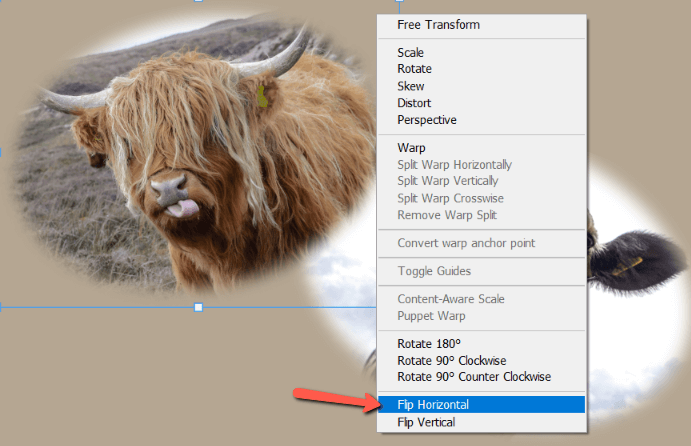
Step 3: Now you’re ready to flip the layer. Right-click anywhere in the image to open this drop-down menu. Select Flip Horizontal or Flip Vertical at the bottom.
What if, instead of the long menu in the previous screenshot, you get this short menu in the following screenshot?
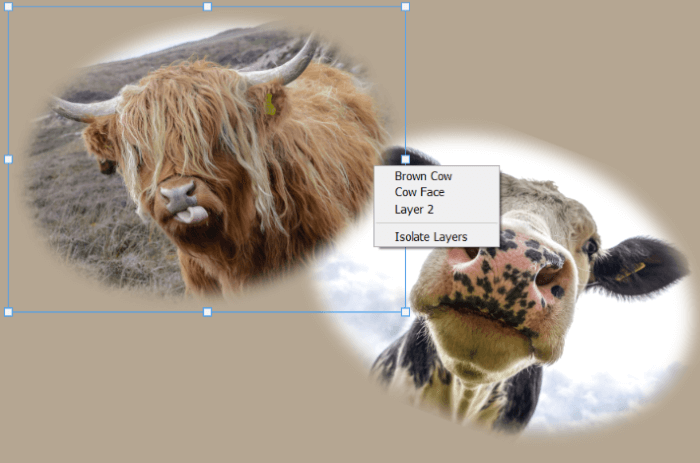
This happens when the Transform tool isn’t active. Nothing changes in the image, there’s still a blue box around the selected layer, so it’s an easy thing to miss.
If you see this short menu, just hit Ctrl + T (Command + T) to select the Transform tool and you’re good to go!
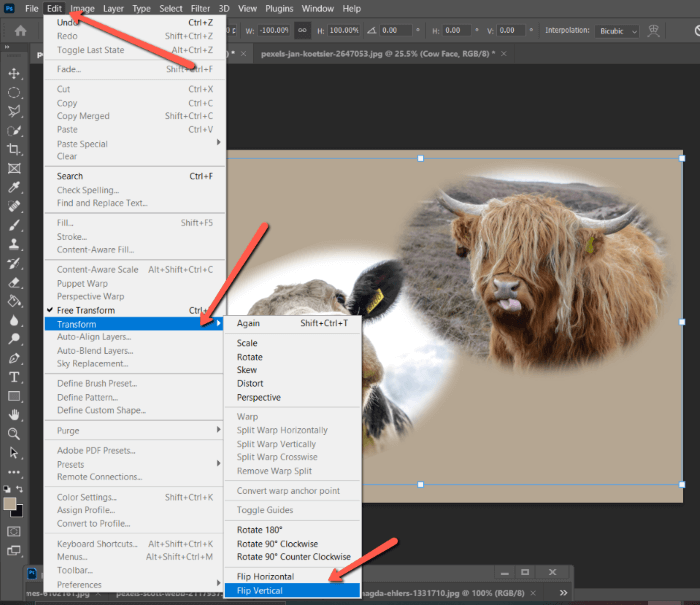
An alternate method is to use menu commands instead. To do this, go to Edit in the menu bar, hover over Transform, and select Flip Horizontal (or Vertical).
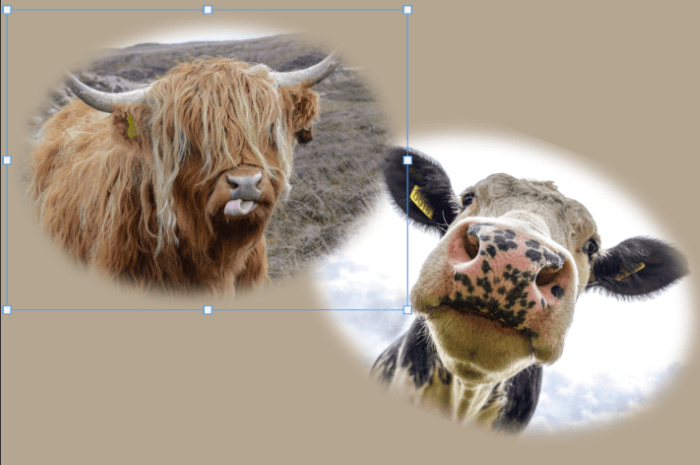
Now that brown cow looks like he’s surreptitiously sticking his tongue out at his buddy. Much better, lol!
How to Flip Multiple Layers at Once
What if you want to flip multiple layers at the same time? It’s super easy and uses the same technique. The only thing you do differently is select multiple layers.
Click on your first layer, then hold Ctrl or Command while clicking on the other layer(s). You’ll notice each selected layer is highlighted.
Then proceed the same. Activate the Transform tool, right-click on the image, and select Flip Horizontal (or vertical).

Piece of cake! Now you can have fun creating your own images and compositions!
Is it possible to flip just one element in a photo? Come on, folks, it’s Photoshop, anything is possible. You can flip a selection in Photoshop as well!
How to Flip a Selection in Photoshop
The first thing to do is make a selection. For example, I want to flip the butterfly so it’s coming in at the flower from the other side.

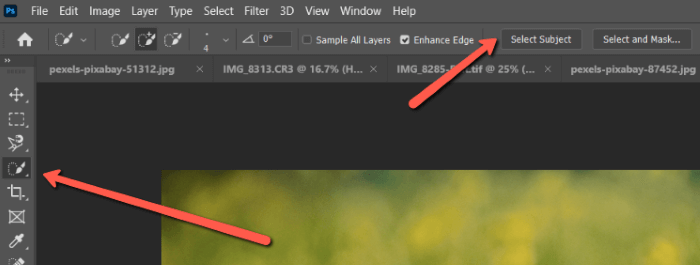
Step 1: Select the object, in this case, the butterfly. You can use any selection tool you want. For example, I’m going to use the default Quick Selection Tool. Then click Select Subject in the options bar.
Photoshop will automatically pick out and create a selection around what it thinks is the subject. It did pretty well, but it also selected a couple of parts of the flowers.
I already had the Quick Selection tool at hand, so I used it to remove the sections I didn’t want to be selected. To do this, hold down the Alt key while dragging over the selected parts to deselect them.
Step 2: With the selection active, go up to Select on the menu bar. Choose Transform Selection from the dropdown menu. Now I can use the Transform commands on the Edit menu to manipulate the butterfly how I want.

The next step is to flip the selection.
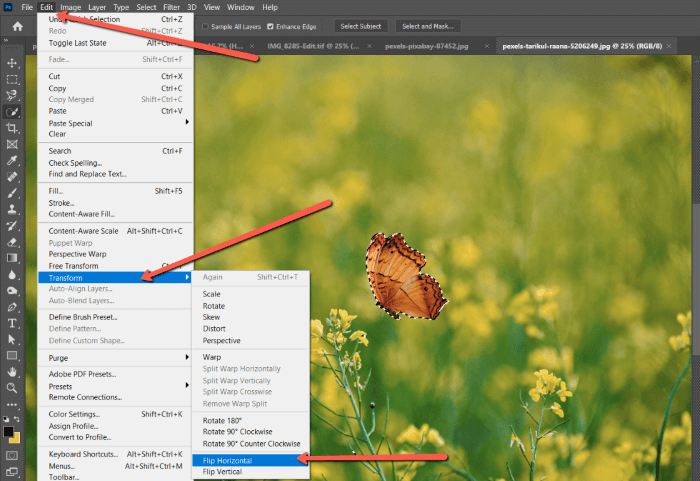
Step 3: Go to Edit in the menu bar. Hover over Transform and choose Flip Horizontal. Alternatively, you can choose Flip Vertical if you want to flip the selection up and down instead.
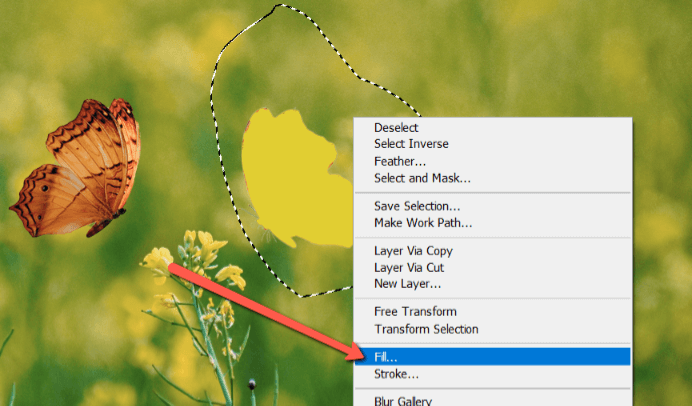
Now the butterfly is facing the other direction. But you might notice that there is a hole where the butterfly originally was.

You can use the content-aware fill tool to fill in the space. I did this by making a loose selection around the empty space with the Lasso tool. Then right-click within the selection and hit Fill.
Choose Content-Aware from the dropdown box and click OK.
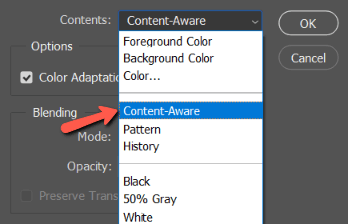
The program then fills in the space using information from the pixels around it. Not too shabby!

That’s it! If you want to invert a selection, with the selection active, go to Select in the menu bar and choose Inverse or hit Shift + Ctrl + I (Shift + Command + I) on the keyboard.
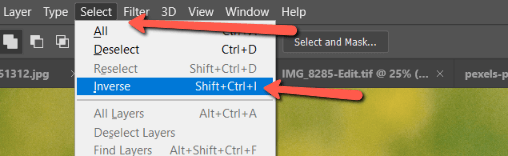
This will invert the selection to select everything in the image but the original selection.
If you want to flip an image, you can read our tutorials on How to Flip an Image in Photoshop.
Wondering how to do something else in Photoshop like how to merge and flatten layers? Check out more of our tutorials!
About Cara Koch