
Like other warp tools, Photoshop’s Puppet Warp Tool applies a mesh to an image’s subject. The topic can be altered in some regions while remaining whole and in its original position thanks to the mesh.
The tool enables you to alter the image subtly or drastically, distorting objects like tree branches and limbs. You must utilize the tool to draw pinpoints around particular sections of the object in order to pin them there. The area can then be pulled and distorted into a different shape by adding a pinpoint.
My name is Aly. I am Adobe Photoshop Certified. In this article, I will show you how to use the Puppet Warp Tool in Photoshop.
Table of Contents
Key Takeaways
- Puppet Warp can be quite helpful for numerous distortions, including hair styling and body part relocation.
- By sliding the image over the pins you make over the mesh, you can deform the image.
How to Use the Puppet Warp Tool in Photoshop
Using the puppet warp tool, you may dramatically alter limb positions to create new postures or correct bad stances in photographs.
These are the various settings for the Puppet Warp that you can change in the Options Bar.
Mode: Controls how stretchy the mesh is.
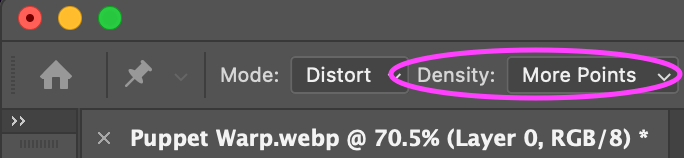
Density: Controls the distance between mesh points. You have less accurate control when you have fewer points. While adding additional points improves precision, it also slows down processing.
Expansion: Compresses the mesh’s outside border.
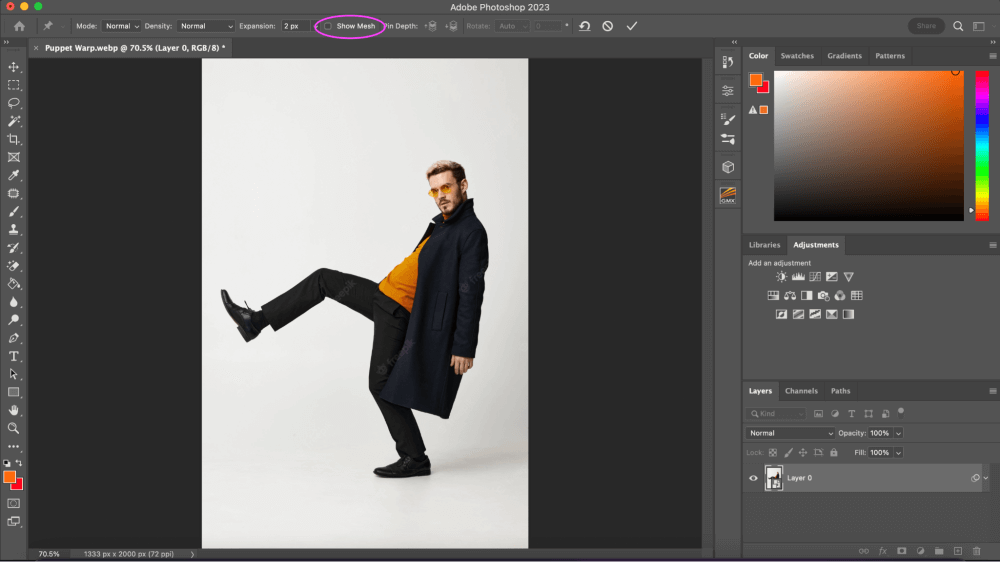
Show Mesh: To make your adjustments simpler to see, deselect Show Mesh and only pick Adjustment Pins.
After knowing a bit more about the settings, follow the steps below to see how it works!
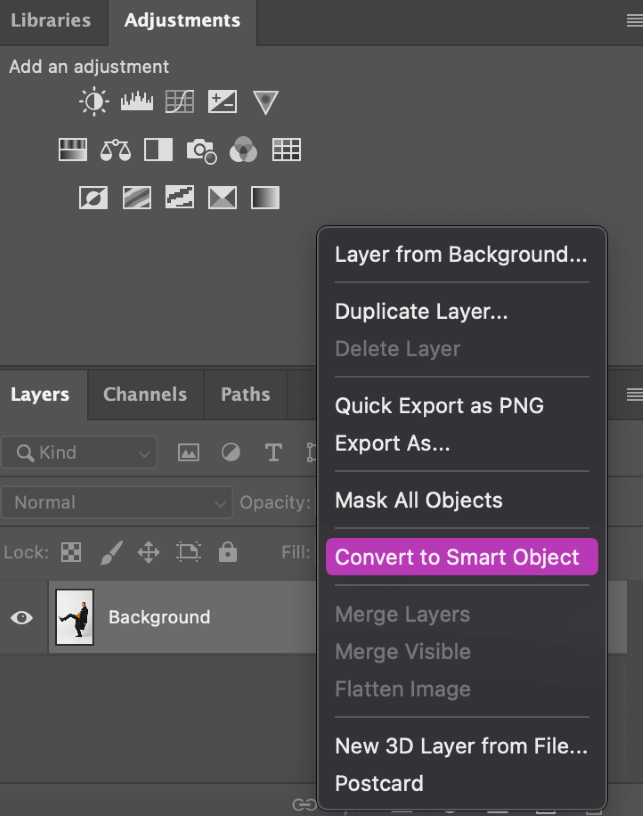
Step 1: Open your image in Photoshop, and convert your background layer to a smart object. You can do this by right-clicking on the background layer, and selecting Convert to Smart Object.
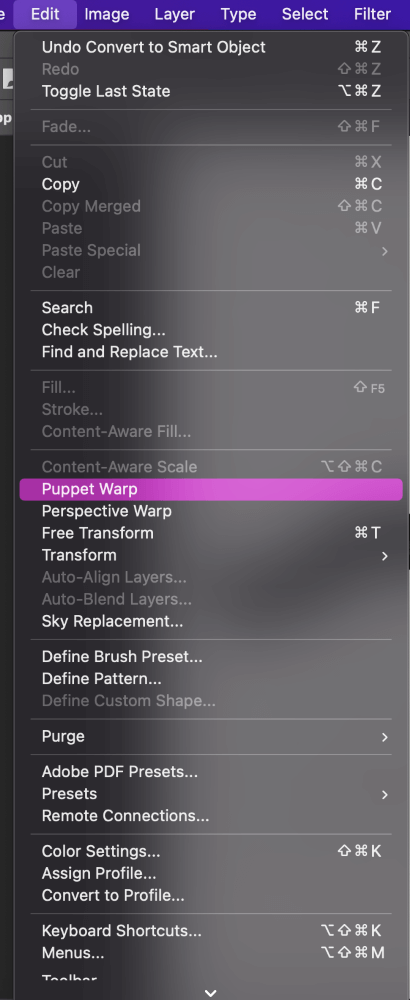
Step 2: Go to the overhead menu Edit > Puppet Warp.
You can remove the mesh that is initially applied to your layer by heading to the Options bar and unchecking the Show Mesh box.
Step 3:Click on the joints of the subject to add pins across the layer, which will help the stance you adjust look more genuine.
You can watch how the subject’s body moves naturally when you add movement by clicking and dragging on a pin. Add more pins if the object isn’t moving correctly as you want it to.

Step 4: The mesh’s elasticity is determined by the mode, which by default is set to Normal, allowing you to quickly change the subject’s location and pose.
You can see how it distorts the mesh by changing its perspective and size around the pinned area by switching it to Distort and then clicking and dragging on one of the pins.
The exact opposite effect occurs when the Mode is set to Rigid, which has less elasticity than the Normal and Distort modes.

Step 5: The density controls the mesh’s point spacing, therefore adding more points increases precision but also adds processing time. You get less precision but a quicker processing time with the Fewer Points option.
Step 6: Now that you have the basics down, try moving your subject with the points set. See how your subject moves by altering the settings as well.
Useful Keyboard Shortcuts
- Command/Ctrl + A will select all pins.
- Deselect all pins by pressing the Command/Ctrl key.
- To select several pins, Shift + click on any pin.
- To hide pins, press and hold the H key. Release the pins to bring them back.
- To delete a Pin, Alt/Option + Click on it.
- To expose a circle that lets you spin the pin, hold Alt/Option close to but not above the pin.
- The Esc key can be used to remove distortions.
Final Thoughts
When it comes to object deformation and manipulation, the puppet warp tool is incredibly helpful. It enables non-destructive object editing. You can take advantage of this tool’s capability by using your imagination to create some truly original artwork.
Any questions about How to Use the Puppet Warp Tool in Photoshop? Leave a comment and let me know.
About Aly Walters