
Photoshop isn’t primarily video-editing software. However, you can make simple animations like GIFs using the Timeline feature of the program.
Hey there! I’m Cara and in my work as a product photographer, I sometimes create simple stop-motion videos. There are other programs out there specifically designed for this purpose. However, Photoshop gives me the basics of what I need without having to buy another program.
This can be helpful for you too. However, the first step is knowing where to find the timeline so let’s take a look!
Note that the screenshots below are based on the Windows version of Photoshop CC, if you are using the Mac or another version, they can look different.
Opening Timeline in Photoshop
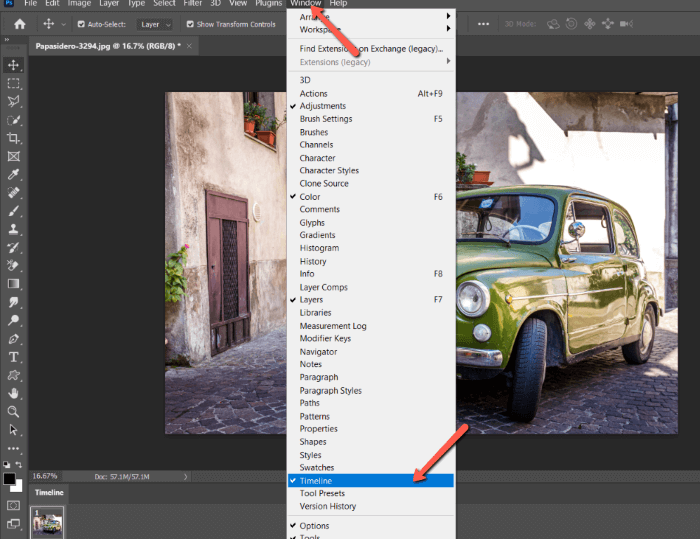
To get to the timeline in Photoshop, go to Window and choose Timeline from the menu.
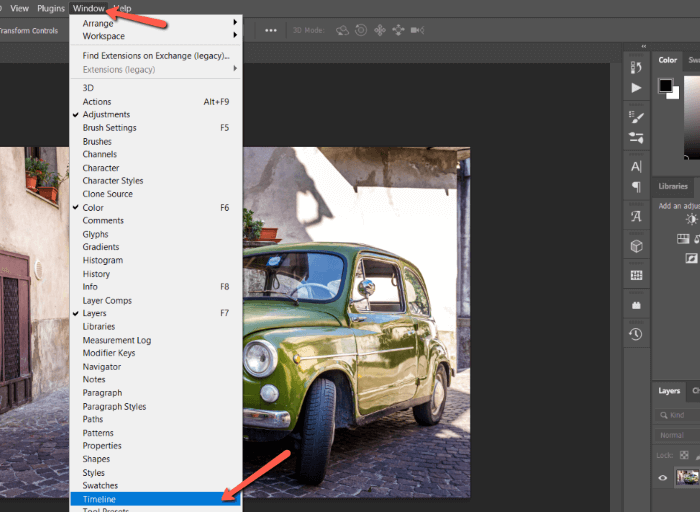
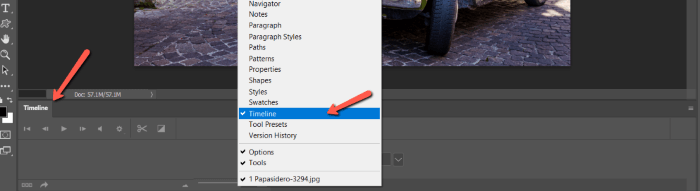
A checkmark next to the feature indicates that it is active. Notice that the Timeline feature has appeared across the bottom of my screen.
With the feature active, you can choose what type of work you would like to do. The dropdown box in the center of the Timeline workspace allows you to choose to Create Video Timeline or Create Frame Animation.
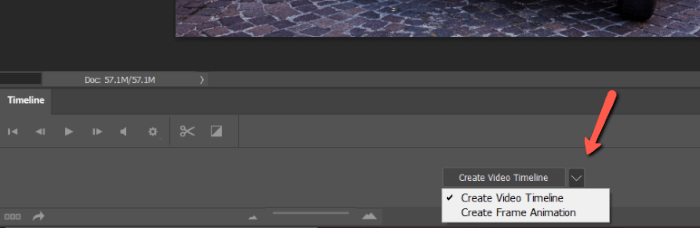
With these features, you can create a video, stop motion animation, make a GIF, and more!
Keep in mind that once you choose which feature you want to use, it becomes a button. You have to click this button to open the project.


More than one person has been frustrated by this seemingly unnecessary extra step.
When you finish your project, you won’t want the Timeline unnecessarily cluttering up your workspace. Simply go back to Window and click Timeline again to turn off the feature.
Have fun with this feature! And don’t forget to check out our tutorial on how to save or export a GIF so you know what to do when you finish your project!
About Cara Koch