
Grids & Guides are so useful when it comes to logo and typography design because they are extremely useful for getting the precise position of shapes and objects. Another big use of a grid is to create a grid template for images. Personally, I use grids for both.
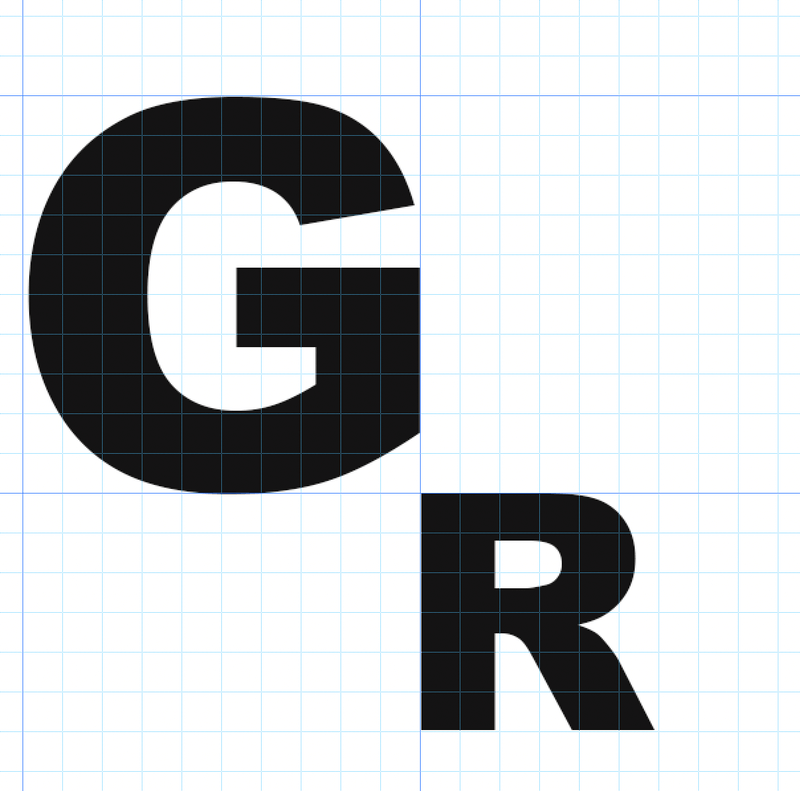
For example, with the grid turned on, I can clearly see the position of the two letters and I can perfectly align them. The back of the G is on the same line as the front of the R.
In this tutorial, I’ll go over both usages along with some quick tips. The process of making a grid in Photoshop is actually super easy, that’s why I decide to add a tiny grid-making challenge that’s going to be quite useful for you – making a grid template for an image.
Ready to take this five-minute challenge? Follow me along 😉
Table of Contents
The Quick Method to Make a Grid in Photoshop
Actually, it only takes a few clicks to create a grid in photoshop. Well, it’s more like turning on the visibility of the grids. All you have to do is to create a new document in Photoshop, go to the top menu and select View > Show > Grid.

Note: the screenshots are taken from Adobe Photoshop CC Mac version. Windows or other versions can look different.
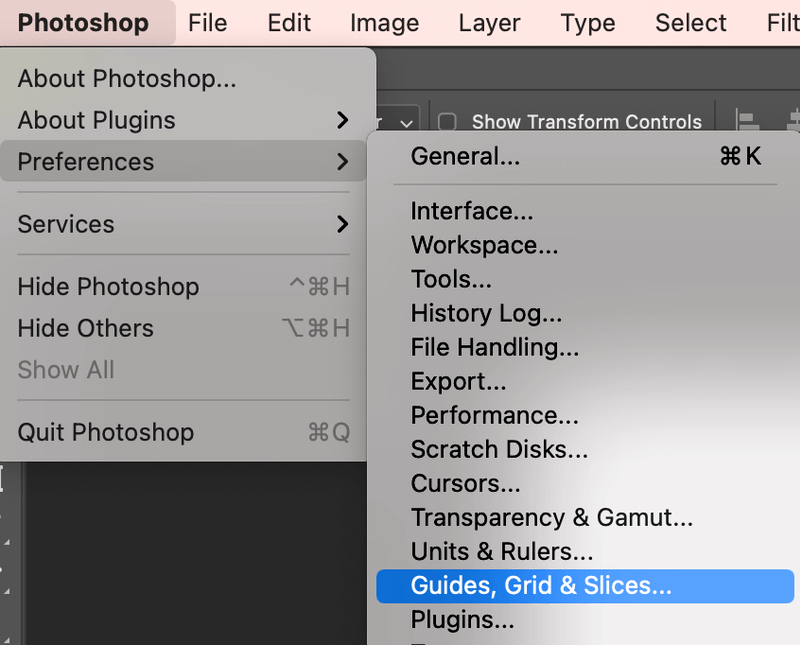
If you want to edit the grid, you can go back to the top menu and select Photoshop > Preferences > Guides, Grid & Slices.
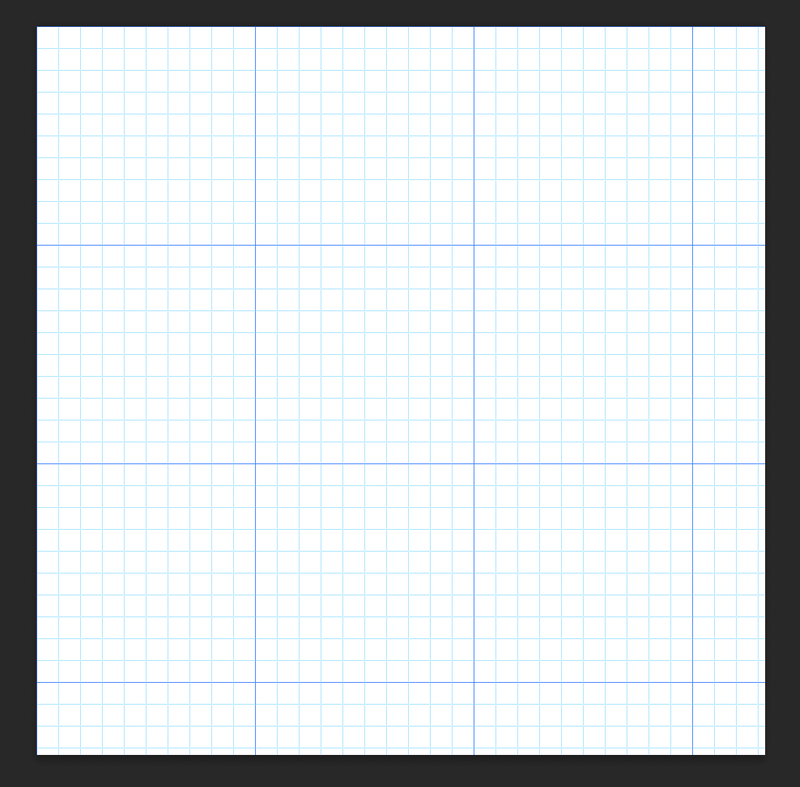
A Preferences window will pop up and you can change the grid color, gridline spacing, subdivisions, etc.

For example, I increased the number of subdivisions and changed the grid color to blue.
Obviously, this is not a challenge, right?
Make a Grid Template for Image in Photoshop
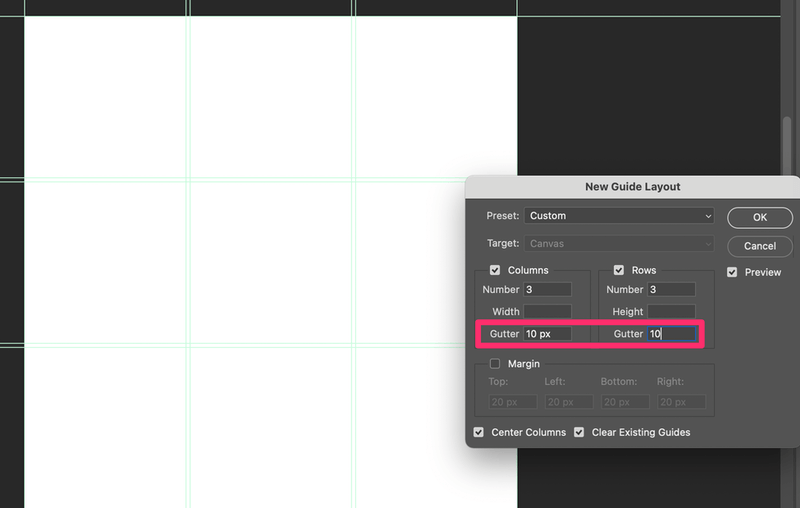
Step 1: Go to the top menu View > New Guide Layout. Check both Columns and Rows, then input the numbers of columns and rows that you want to make.
For example, let’s make the 3 x 3 grid.
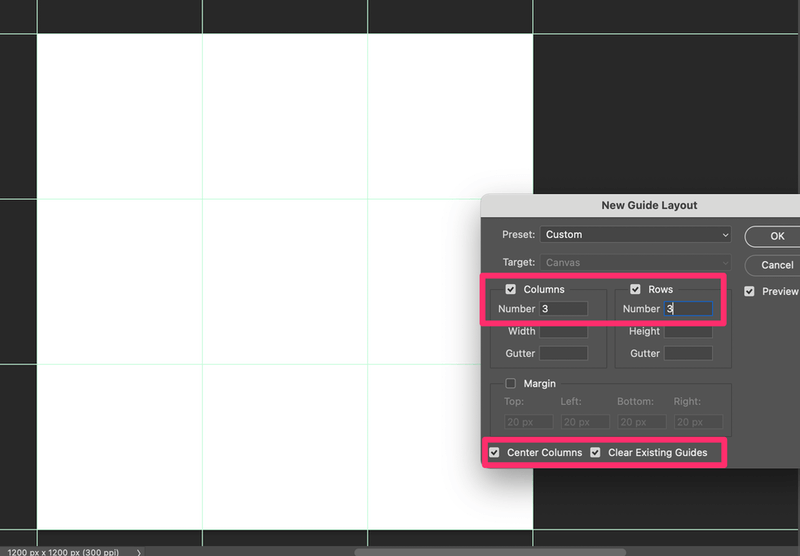
Step 2: Check the Center Columns and Clear Existing Guides boxes at the bottom.
Actually, if you don’t need any spacing between the grids, you can click OK, and you’re all set. Otherwise, follow me to the next steps.
Step 3 (Optional): You can add some spacing between the grids by adding the Gutter value, which will be good if you want to make a photo collage.
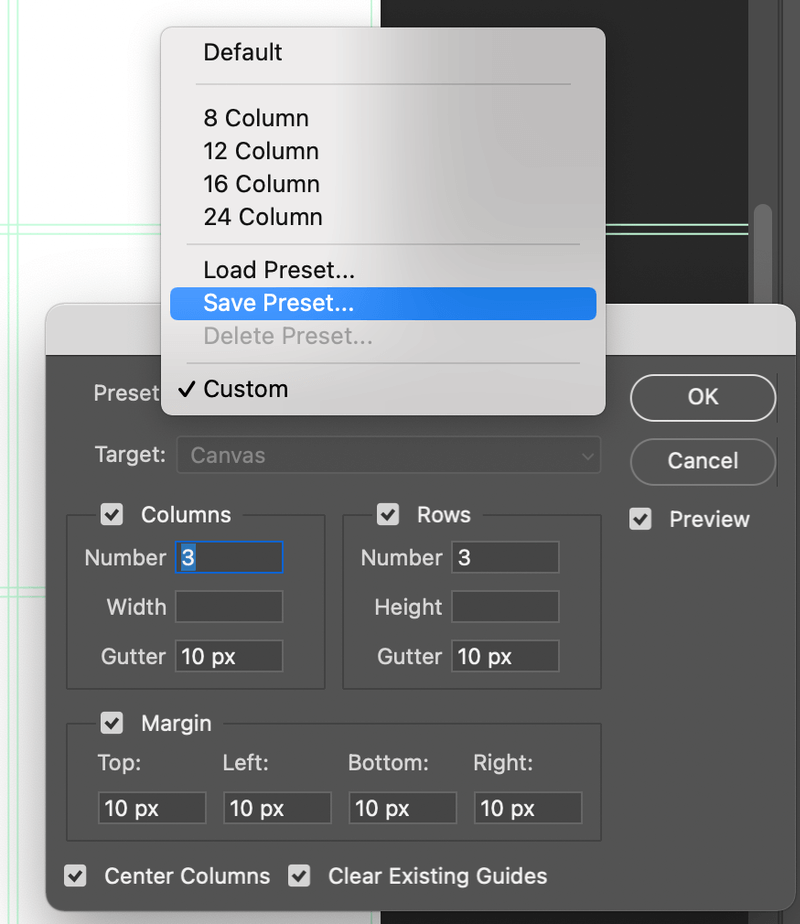
Same thing for the margin, you can add margin values to leave some space from the borders, which will be good for publishing and printing. If not, just leave it blank.

Width and Height are also optional, you can add the width and height of the image size that you’re adding to the grid. If you want equal distribution, just leave it blank.
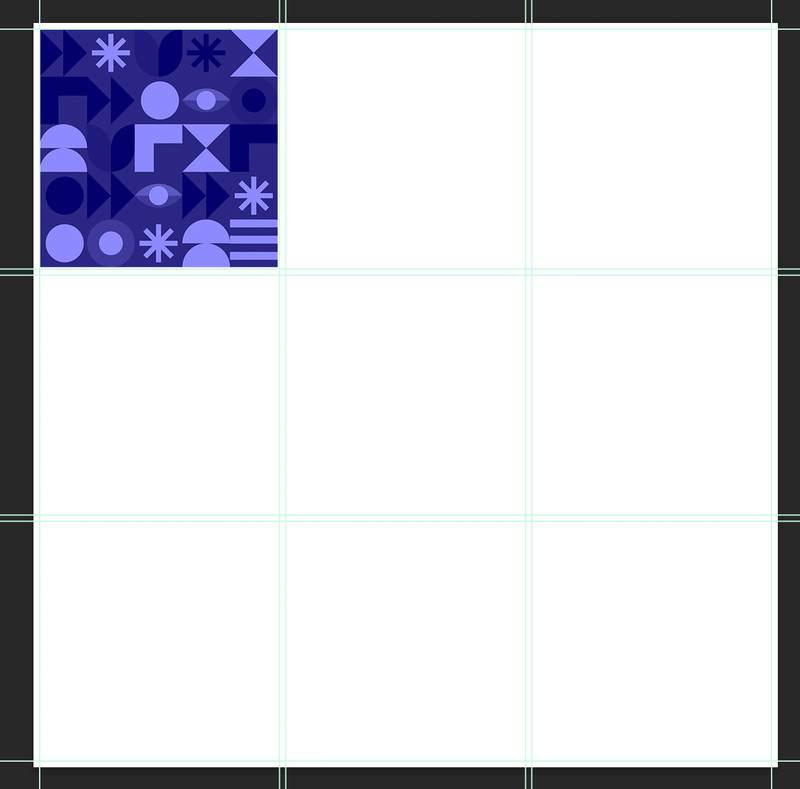
You can pull in your photo to see if the spacing is enough and adjust accordingly.
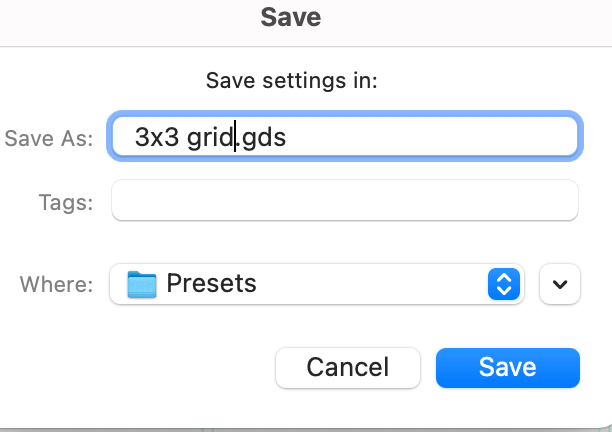
Step 4 (Optional but recommended): Save your template. Click on the Preset option bar and select Save Preset.
Name it and save it for future use. Next time if you want to use it again, you can simply select Load Preset and find it.
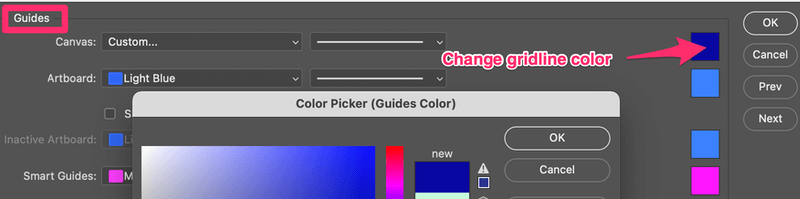
Tip: If you want to make your gridlines more visible you can go to the top menu and select Photoshop > Preferences > Guides, Grid & Slices, and change the Guides (right, not Grid this time) color.
Wrapping Up
You’re just a few clicks away. Both grid-making methods are quite simple and they make your work look professional whether you’re doing a photo layout for a magazine page, catalog, or designing a logo.
About June
Geoffrey Smith
I love this … Your unconditional offering of information is very selfless, I truly see a gifted artist offering tools to those starting out, inspiring others to create … Thank you
Geoffrey
Austin Texas, USA