Found a nice photo of the city but the sky just isn’t as nice? Sometimes it’s just so hard to find a perfect photo with perfect weather. Well, this problem can be easily solved, and it’s easier than rendering clouds. You can get rid of the background and make your own beautiful sky!
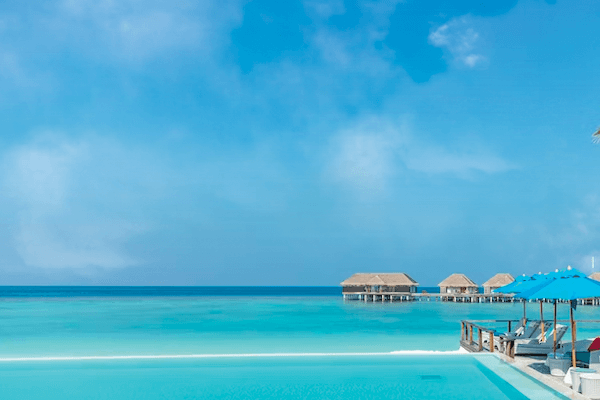
When I realized I spent too much time looking for a photo, I decided to make my own. So this time, I made some cloud brushes that you can add to your favorite photos on the beach, make a smoke effect, or storm effect, however you like!
In this article, you’ll find 16 free cloud brushes for Photoshop. You can change the colors to even edit the brushes to make them your own.
I’ll also show you how to install and customize brushes in Photoshop. And no, you don’t have to create an account or subscribe, simply download and use them.
And yes, they are free for both personal and commercial use!

The brushes are totally free for personal or commercial use. It took me nearly 10 hours to complete, so a link credit would really make my day 😉 Thanks!
Got the brushes ready to use? Follow the quick steps to open and use them in Photoshop.
How to Install Brushes to Photoshop
After downloading the brushes, they don’t just appear on the Brushes panel. You’ll need to add the brushes to Photoshop.
Step 1: Unzip the file you just downloaded on your computer.
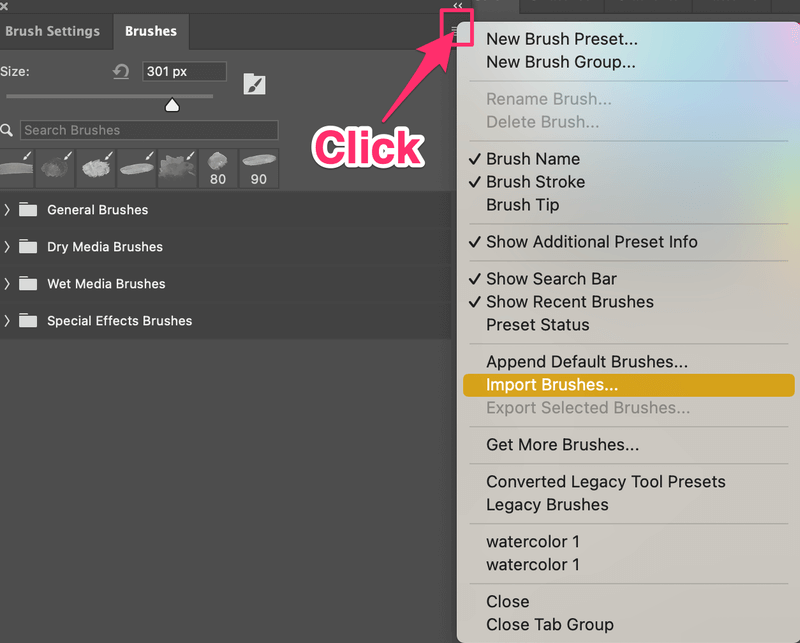
Step 2: In Photoshop, go to the Brushes panel, click on the folded menu, and choose Import Brushes.
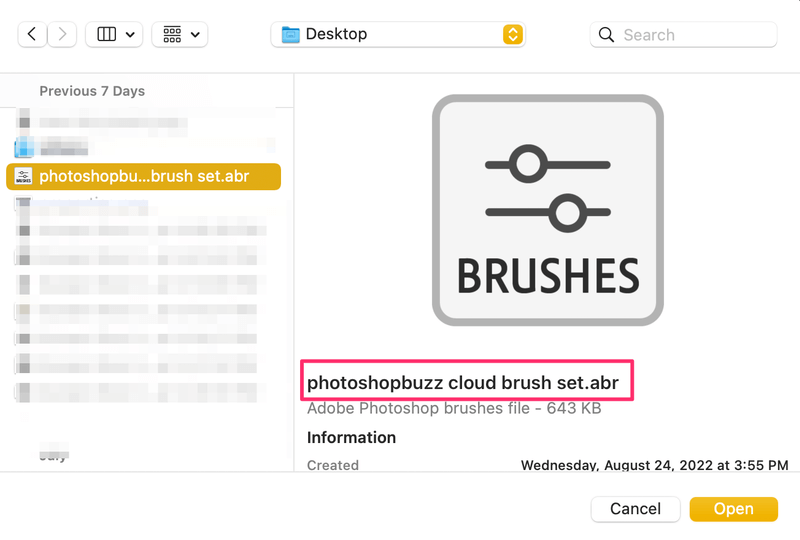
Step 3: Find the unzipped brushes file and click Open. The file format should be .abr.
Now you should see the cloud brush set on the Brushes panel.
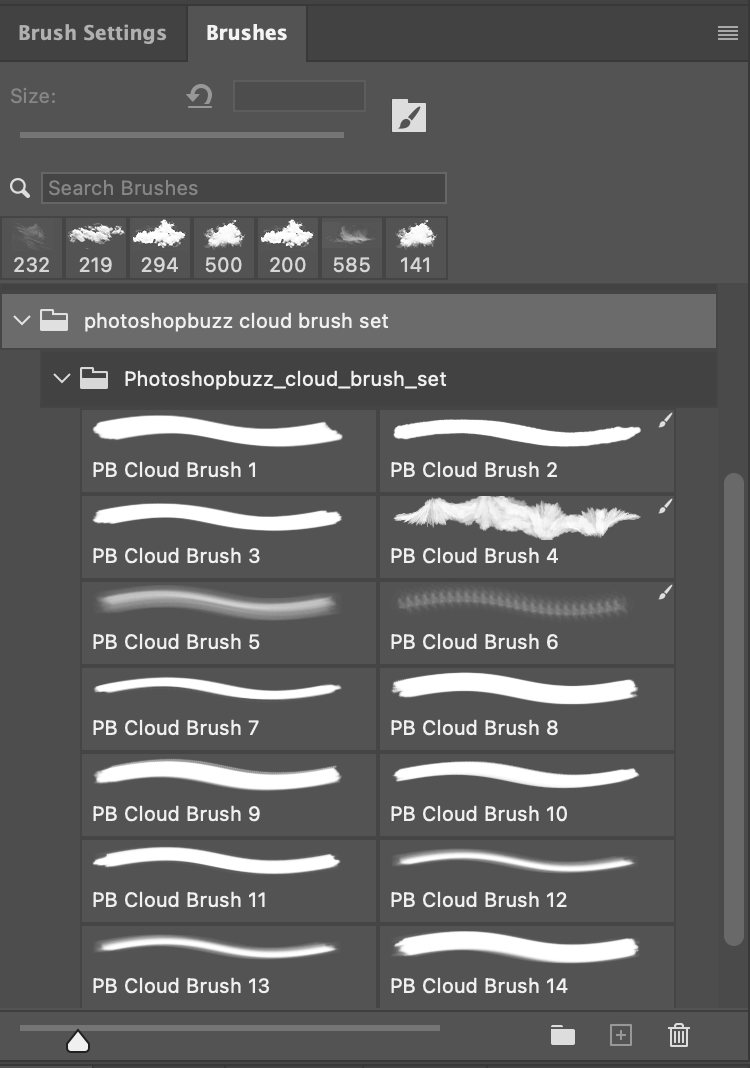
Choose a brush and add clouds to your image!
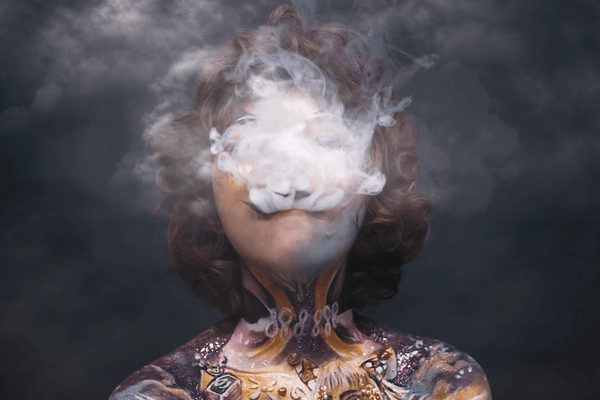
Or you can use them to create something else. How about a vape cloud? 😉
Tip: You can use the Eraser tool to lighten the cloud if needed or change the brush settings.
How to Customize Brushes in Photoshop
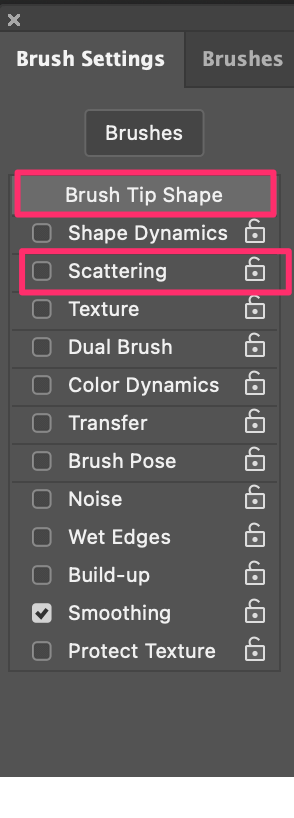
When you open the Brushes panel, you’ll see the Brush Settings panel right next to it, and that is where you’ll be able to customize the brushes. Simply select the brush you want to modify and go to the Brushes Settings to customize it.

There are lots of settings here, but I would say the two main ones are Brush Tip Shape and Scattering. You can see how the brush shape changes at the bottom as you modify the settings.
You can rotate the brush tip and change its size from Brush Tip Shape.
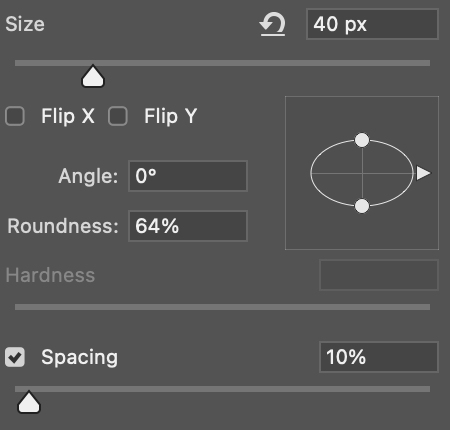
The Scattering setting modifies the scatter and count of the brush. When you increase the scatter, it’s separating the original form of the brush, but if you increase the count at the same time, it makes the brush denser.

If you want to learn more about each brush setting option, Adobe has a complete guide for this.
Alternatively, you can also adjust the brush size, opacity, etc from the top toolbar.

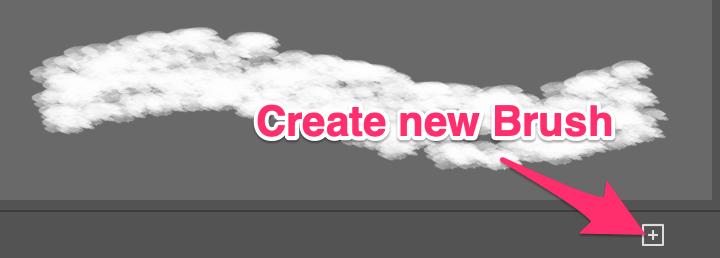
After creating your own brush, don’t forget to save it to your Brushes panel. Simply click on the plus sign to create a new brush, name it, and click OK.
That’s it!
Enjoy the cloud brushes and let me know how you like them.
About June