So, what is Font Awesome? I had no idea when I first saw this term, so I did a bit of research, and oh! It is pretty awesome. I bet you all use emojis when you text on your phone, right? Font Awesome is like emojis in Photoshop.
Font Awesome is a downloadable font (I would call it an icon) that contains a myriad of web-related icons. These icons can be translated into code as scalable vectors. This means that you can scale and edit them the same as any other font by adding color, drop-shadows, and other effects.

I was instantly sold as soon as I saw the huge selection of icons available but I hit a stumbling block when I wanted to use them in Photoshop. It seemed to involve a lot of copying and pasting from the font folder to Photoshop.
So ta-da! I created a Font Awesome custom shape pack to use directly from the Photoshop Custom Shapes toolbar. Want to try it out? And yes! It’s free!
You can download this .csh file below and load lovely Font Awesome into Photoshop.
Note: This is a free download. Font Awesome is completely free for commercial use but please check out the official license. And a link credit to PhotoshopBuzz would be awesome.
4 Quick Steps to Use Font Awesome in Photoshop
Although Font Awesome is a font, in this case, you’ll be using it as a shape because the .csh file you download from here is a pack of icons that I converted from Font Awesome. Trust me, it’s super easy to use and edit once you load the file to Photoshop.
Note: the screenshots are taken from Adobe Photoshop CC Mac version. Windows and other versions can look different.
Step 1: Select Custom Shape Tool from the toolbar. Usually, it’s in the same menu as the Rectangle tool.
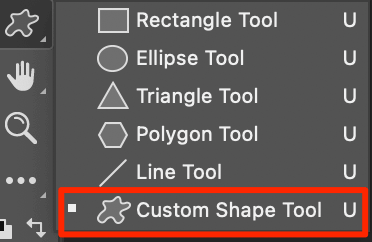
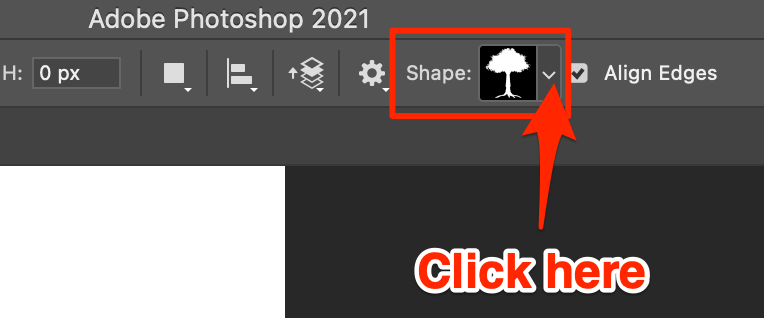
Step 2: Go to the toolbar on top of the document and click on the custom shape option.
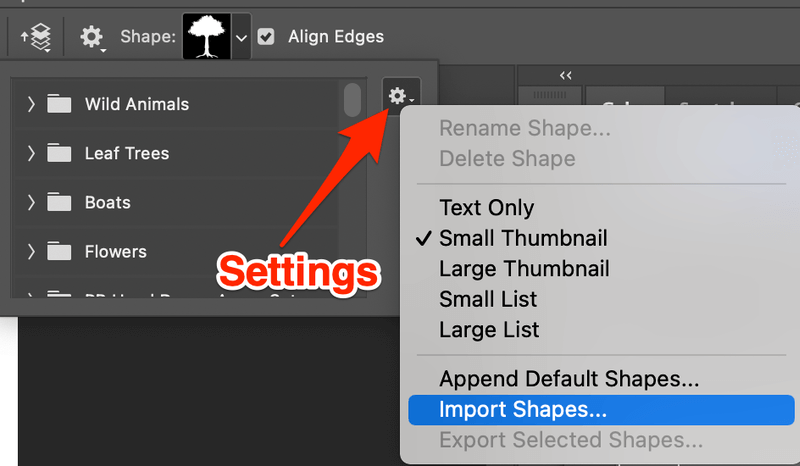
You should see a settings icon. Click on the icon and choose Import Shapes.
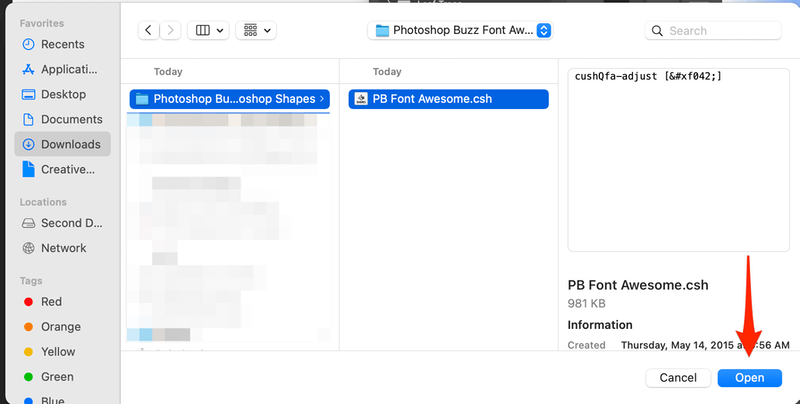
Step 3: Find the .csh file you just downloaded to your computer and click Open.
The shape pack should show in the custom shape menu, which usually appears at the bottom.
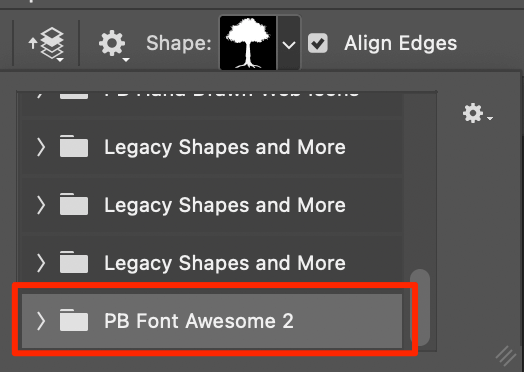
Step 4: Select the icon you want to use, click and drag on the canvas. You can scale it without losing its quality.
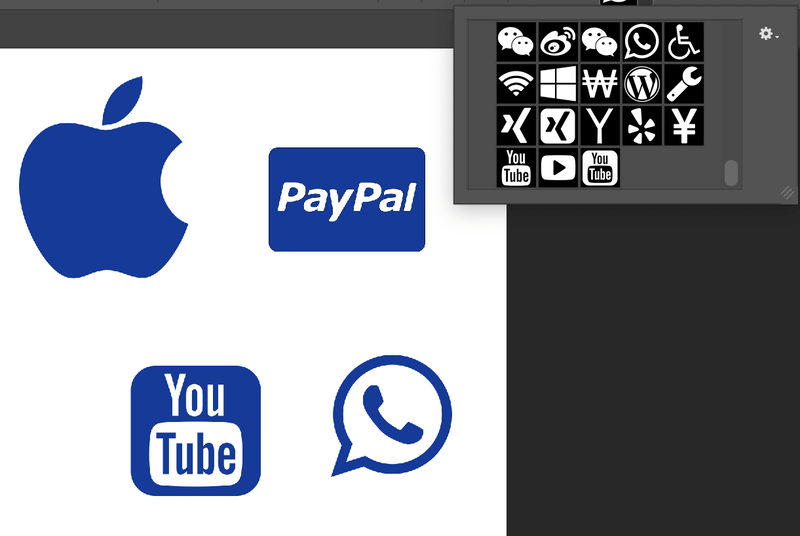
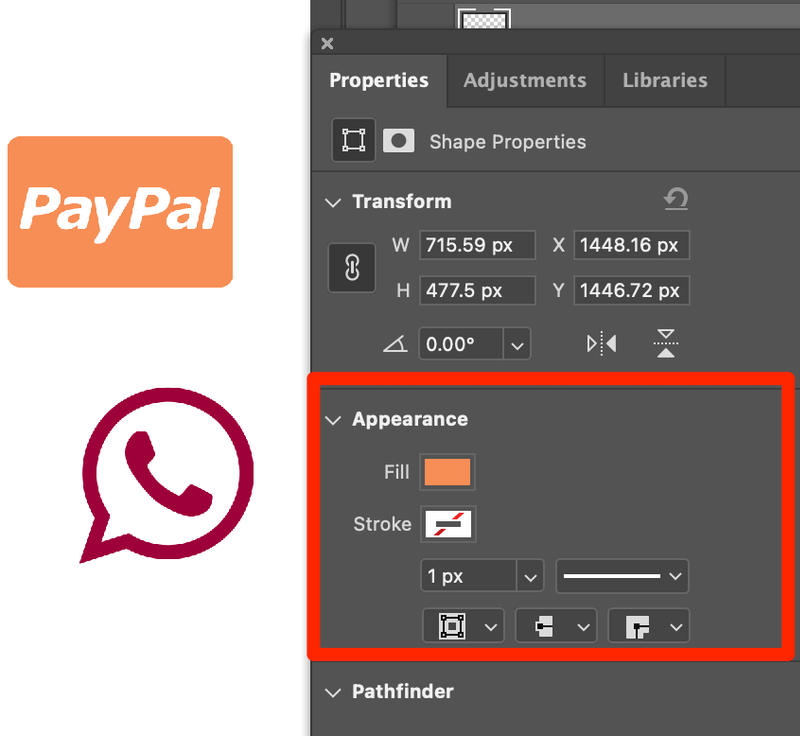
The default color is the foreground color you originally had. You can change it in the Properties > Appearance panel.
That’s All for Today
Font Awesome is an amazing resource for web designers and developers. It saves you time designing or searching for icons on your own and they are very useful. Social media and contact icons? Yes! You’ll need them on 99% of the websites.
About June

Rafael
Thank you! This will really be helpful to me. 🙂
Noman
very very helpful for me. thanks a lot.
Charm Yap
Thanks … really helpful!
Raymond
Fantasic, thanks a lot!
Jonny
Really useful, thanks!
Gwyneth Llewelyn
Thanks for doing this 🙂
Now the big issue is searching for the “right” icon I wish to use, of course… that’s something that the Shapes tools were not designed for, I suppose. I mean, usually you don’t have 700+ cute icons inside a single folder, right? 🙂
There used to be a Font Awesome Photoshop Plugin which did all the searching — and was slightly more up-to-date than your converted shapes — but unfortunately the developers haven’t signed that extension properly (or maybe they did; it’s just that their signature may have expired long ago). So, for now, it’s your tool that I’m going to use 🙂
Thanks again!
June
You’re welcome, girl!