
The eyedropper tool in Photoshop is one of my personal favorites just because it is one of the handiest tools I think they have. In Photoshop, the Eyedropper Tool is used to take a sample of color from a photograph that may then be applied to a brush, gradient, or object.
This tool will definitely come in handy at one point or another if you are an avid user of Photoshop. It’s also the easiest tool you could possibly learn.
I have over five years of Adobe Photoshop experience and am Adobe Photoshop certified. In this article, I’ll teach you how to use the eyedropper tool in Adobe Photoshop.
Table of Contents
Key Takeaways
- The eyedropper tool will be helpful for sampling colors that you may need.
- The eyedropper tool is good to make direct color selections, but you may also use it in conjunction with other tools and program adjustments as well.
How to Use the Eyedropper Tool to Sample Colors
If you don’t know what the Eyedropper does in Photoshop, it’s a useful tool for sampling colors. Go ahead and activate the tool by clicking Open in the main menu and selecting your photo from the designated folder or area.
Step 1: Use the Eyedropper tool, which can be found in the toolbar to the left of your screen, to explore by clicking and dragging it to various colors in your image. Observe how, with each click, the foreground color swatch in your toolbar adjusts to a perfect match.

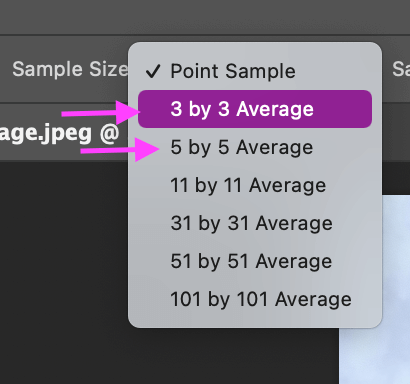
Step 2: While the eyedropper tool is active, go ahead and change the pixel amount since the default is to sample one pixel at a time.
So if your image has multiple colors, it’s a good idea to switch that to either 3×3 or 5×5 from the sample menu so Photoshop can have a more accurate reading of the colors in your selected image.
You can do so by going to the top of the screen where you will see Sample Size. The default is usually set to Point Sample. Go ahead and choose either 3×3 or 5×5. Feel free to leave the default if your image doesn’t have a ton of multiple colors.
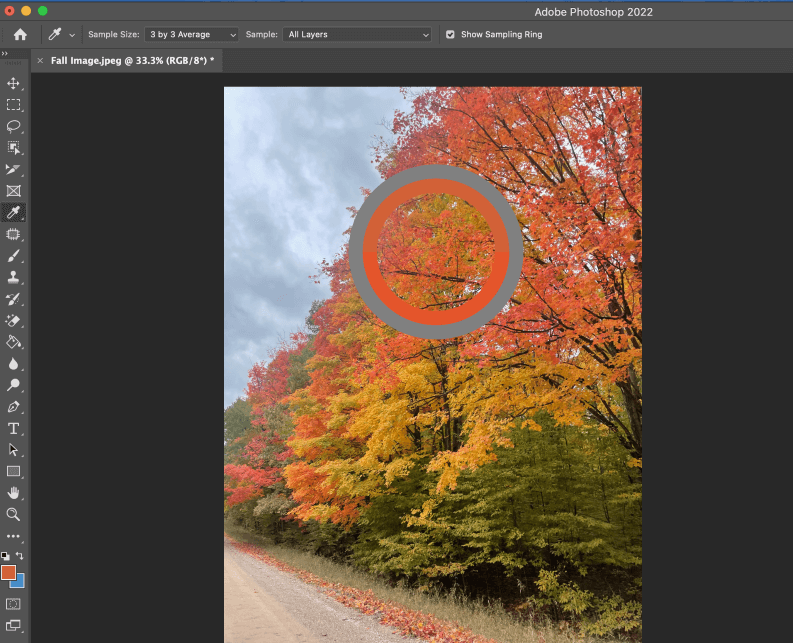
Step 3: With the Eyedropper tool still selected, go ahead and drag it over the color in the image you would like to use and click the mouse down. I chose a bright orange color for my image.
You will see a sampling ring, which is a bigger view of the color you are choosing, you can also move this around the image to view other colors to sample. This color will be the foreground.
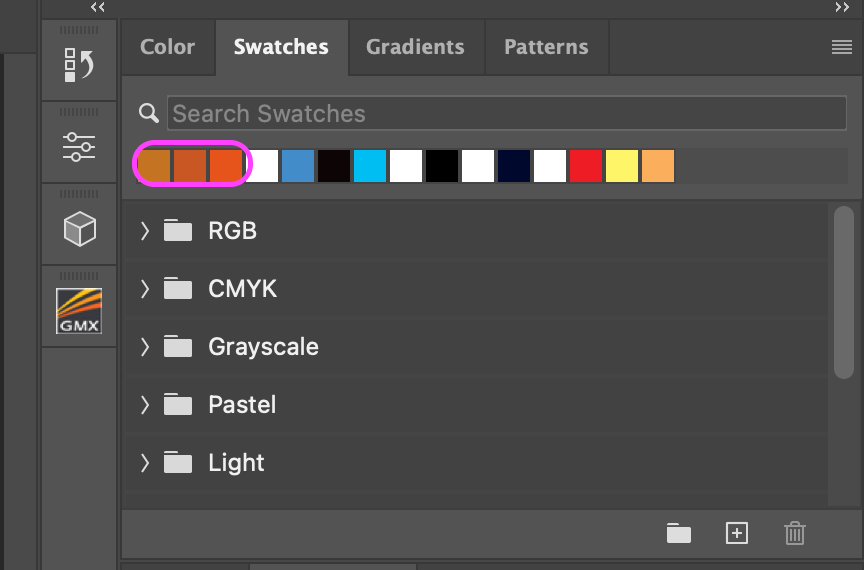
Step 4: Now to the right-hand side of your screen you will see the colors popping up in your swatches. Those will be there for you to use at your convenience. Next is up to you to decide how you want to use these colors.
And that’s it! If you ask me, it’s very simple. Again, this is just to show you how you can use the eyedropper tool. It will be up to you to decide where and what you want to do with the sampled colors.
Bonus Tips
- Remember always to save your work always!
- A color can be collected from the image in the workspace of Photoshop and other applications.
Final Thoughts
You might be aware of the precise RGB or CMYK values for any color you wish to use. In this case, the eyedropper is not necessary. However, if you are unsure about the precise color values, the eyedropper will find them for you right away.
Any questions about the Eyedropper tool in Photoshop? Leave a comment and let me know.
About Aly Walters