
Tired of renaming photos one by one? I know, it’s super annoying and time-consuming. Sometimes you might even get lost in the numbers if you’re renaming with sequence. Well, today you’ll get your problem solved.
You can quickly rename photos in Photoshop, but you will have to open the images in Adobe Bridge. So technically, you’re batch-renaming the photos using Bridge instead of Photoshop. It might sound a bit confusing, but no worries, I’ll guide you through with screenshots and steps.
3 Quick Steps to Batch Rename Photos
Note: the screenshots are taken from Adobe Photoshop CC Mac version. Windows or other versions can look different.
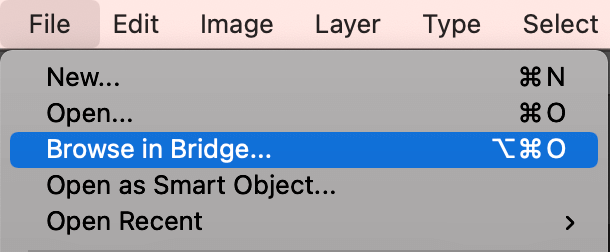
Step 1: Open Photoshop and go to File > Browse in Bridge.
You don’t have to create any new documents.
Adobe Bridge will start automatically and you’ll see a window like this. It shows the files on your computer, and this is where you’ll find the photos you’ll be renaming.
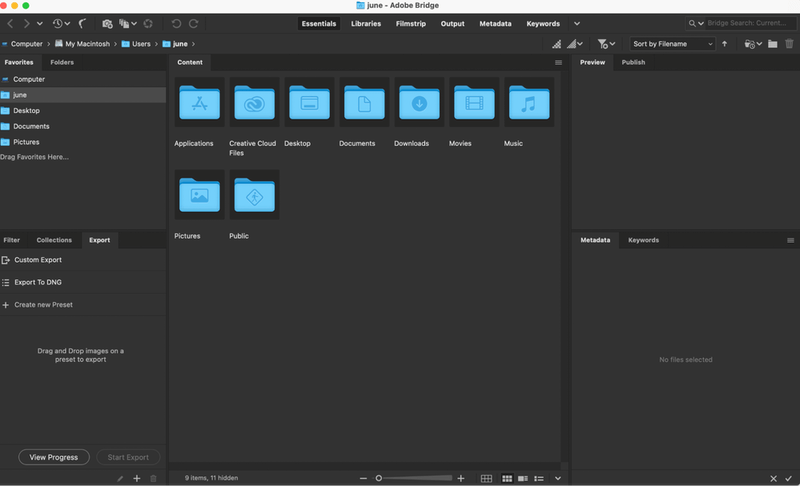
If you don’t have Bridge downloaded already, it will lead you to the Creative Cloud apps to download. The good news is, you can download it for free.
Step 2: Open the folder where you have the photos ready to rename. Select the photos you want to rename, and you can see them in the Preview window in the top left corner.

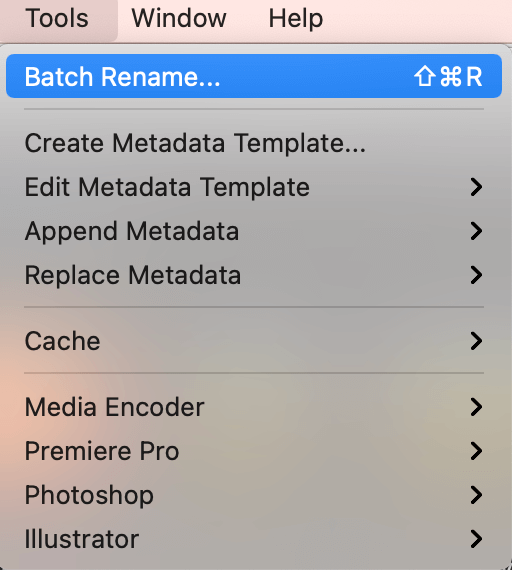
Step 3: Go to the top menu and select Tools > Batch Rename.
A settings window will pop up and you can rename, relocate, set the compatibility, etc. Usually, I check options in the Compatibility section so that anyone can see it even if they don’t use the same device.
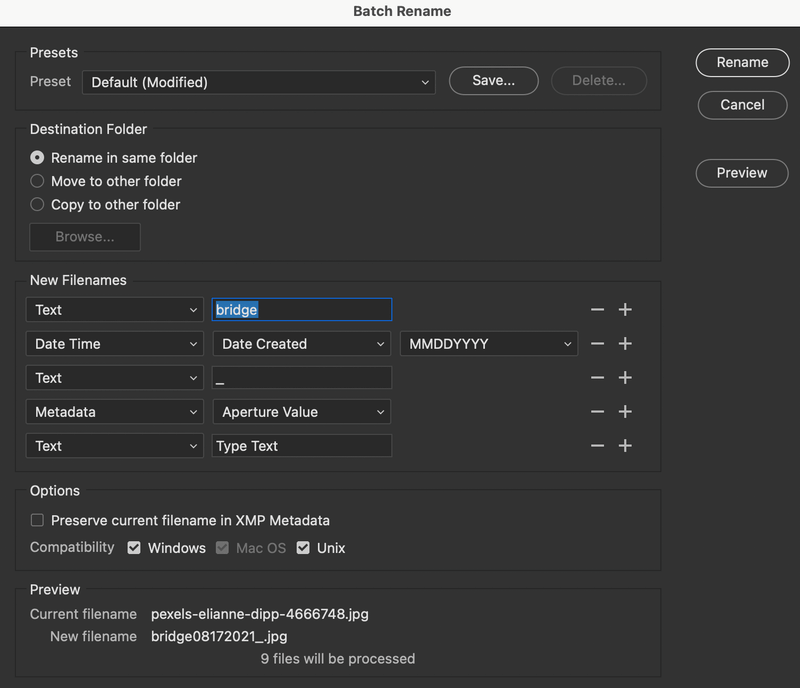
In the New Filenames section, you can choose the format of the names.
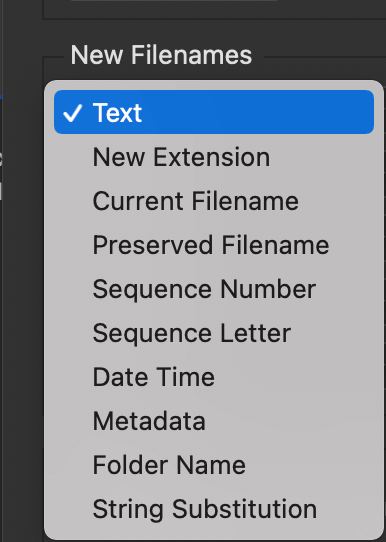
For example, I chose the text format, so I typed in the name nature in the first option. I also want to add a date on names, so I chose a date format MMDDYYYY. For the rest of the options, I’m just going to click on the minus sign on the right side to delete them.
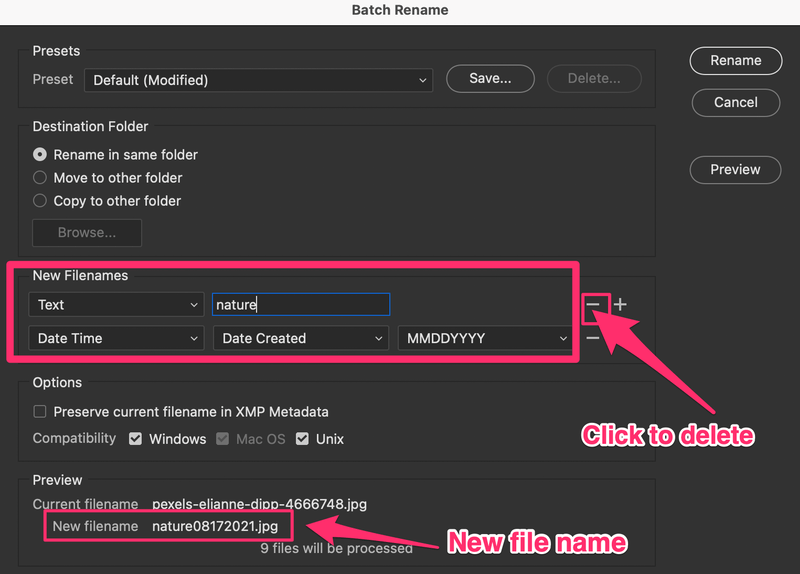
You can see how the file name will look in the Preview section at the bottom of the window.
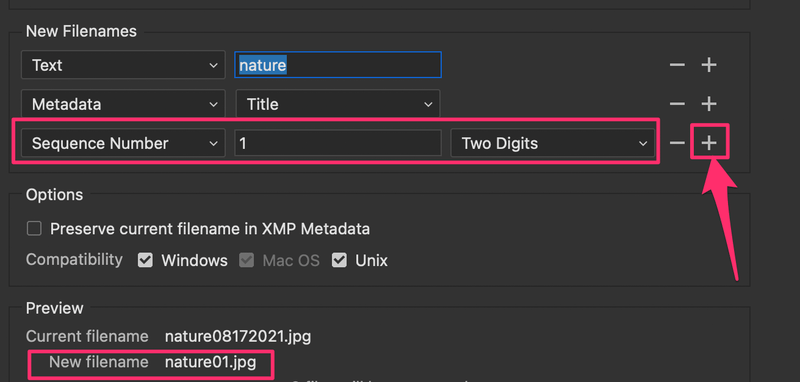
If you feel like adding more information to the file name, you can click the plus sign. For example, I want to add sequence numbers for the photos. You can choose the number of digits based on the number of photos you have. If you have less than 100 photos, two digits should be fine.
Click the Rename button on the top left corner of the window when you’re happy with the name. Now go back to your photo folders on your computer, the file names should be modified.
You’re All Set
That’s how easy it is to batch rename in Photoshop. Wait, or should I say Bridge? Anyway, you don’t have to change filenames one by one or worry about organizing the sequence anymore, Batch Rename does it all.
About June
Summer Rubinstein
Thanks a lot for this awesome post. Please keep up the good work. I will be returning often.
Lamont Chenette
Good, that’s useful, many thanks, bookmarked.
Morten
OK. But what if I want to keep all or a part of the original filename?
Is that possible?
June
In Photoshop, you can go to File > Automate > Batch, and from there you can choose the options.
Nancy Olds
Thank you June for providing a guideline on how to batch rename images in a folder. I had recently updated to Photoshop 2022. I wanted to make sure that my images would have a title and work in sequence. Your explanation on how to proceed was very clear. However, if you have two or more cameras’ images in one folder, you have to make sure that both or more cameras are in sync with the dates and times data in your camera or the images won’t line up in sequence. I usually make a duplicate folder of the images and test that first before I make a batch image from the original images. I can see if the batch rename works before I try this on the original images. Please separate the RAW images before you batch rename your JPEG images! I save the RAW images in a separate folder.
June
Thanks for sharing, Nancy!