Resolution can be a bit of a tricky subject to understand when you’re starting out as an image editor, especially since there are a lot of misconceptions about how digital images work (thanks very much, CSI). People use the word “resolution” to mean a lot of different things, so you’ll have to bear with me for a second while we untangle some confusing threads.
Table of Contents
How Image Resolution Works
At its base, image resolution is actually pretty simple: it’s the number of pixels in an image, measured as width and height. A standard 4K image has a resolution of 3840 pixels wide by 2160 pixels high, while an HD image has a resolution of 1920 x 1080.
Things only start to get tricky when you need to explore different pixel densities because the term ‘resolution’ is also used to refer to pixel density.
On a typical HD computer screen, images are usually displayed at a pixel density of somewhere between 72-100 pixels per inch (depending on your device), but if you want to make a print of an image, you’re going to need a much higher pixel density of 300 pixels per inch.
If you’ve ever tried to print out a picture that looked great on-screen only to have it turn into a blurry mess, you’ve already encountered this problem.
Images can contain metadata information that indicates the desired pixel density, although basic software like MSPaint will ignore that data. If you want to be sure your prints turn out well, it’s a good idea to set your pixel density using an advanced image editor such as Photoshop – but it’s also possible to do without using Photoshop at all.
How to Change Image Resolution Using Photopea
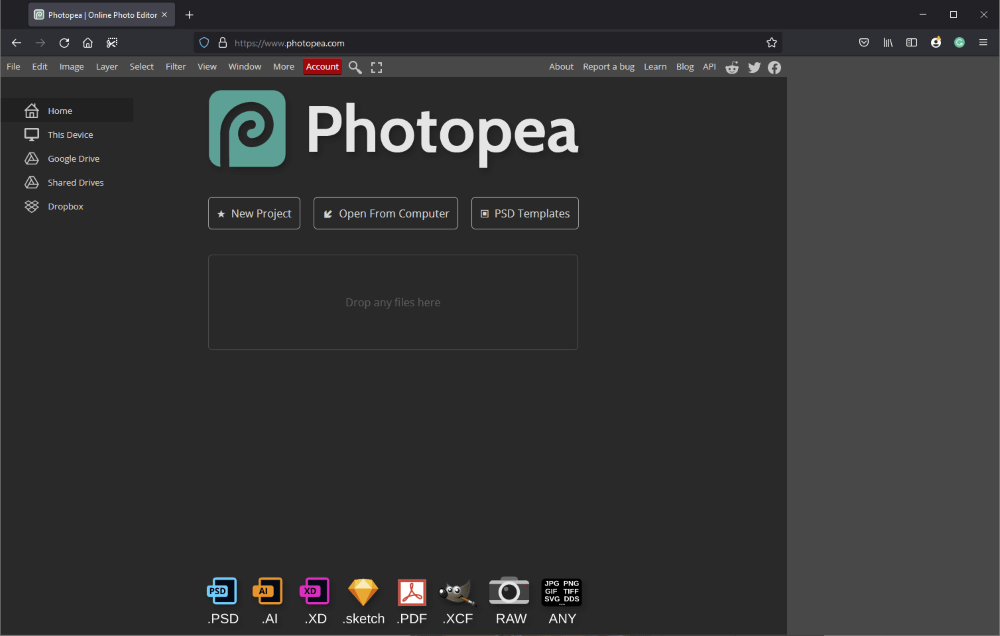
To change the resolution of a picture without using Photoshop, you can use the online image editor Photopea. It’s my current favorite web-based editor thanks to its speed and simplicity, although it’s best suited to smaller images.
If you try to edit a huge high-resolution RAW file, you might run into some issues, so keep that in mind.
To get started, visit the Photopea website. You won’t have to sign up for an account, but the site does display a bunch of ads along the right side of the page (although Firefox blocks them for me by default, which is a nice touch).
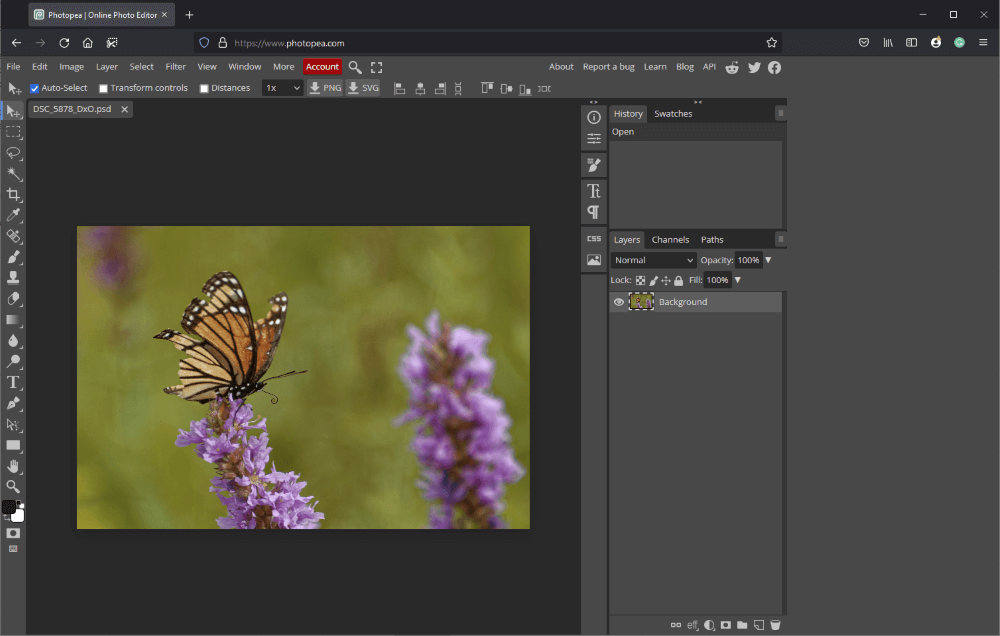
Click the Open From Computer button and browse to select your image file, or drag and drop the file icon onto the page to load it.
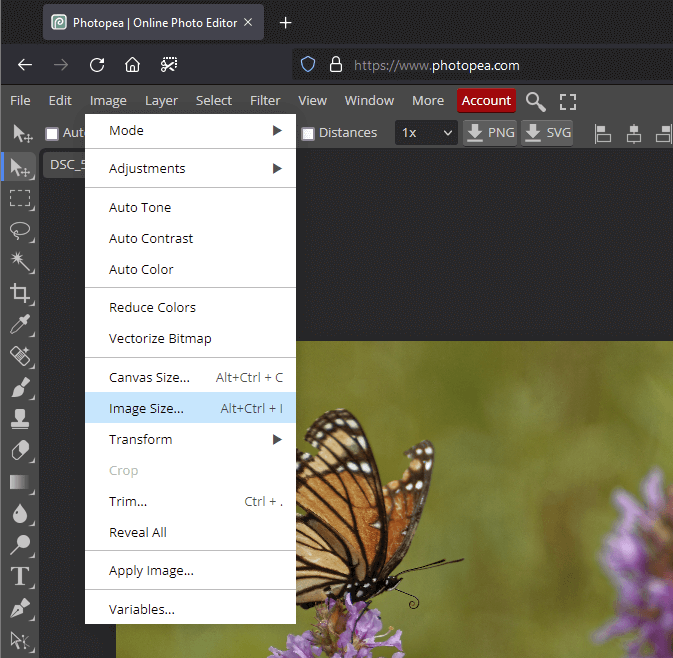
Next, open the Image menu, and select Image Size.
Uncheck the box marked Resample, and then enter your desired pixel density setting. If you leave the Resample box checked, you’ll simply be scaling your image.
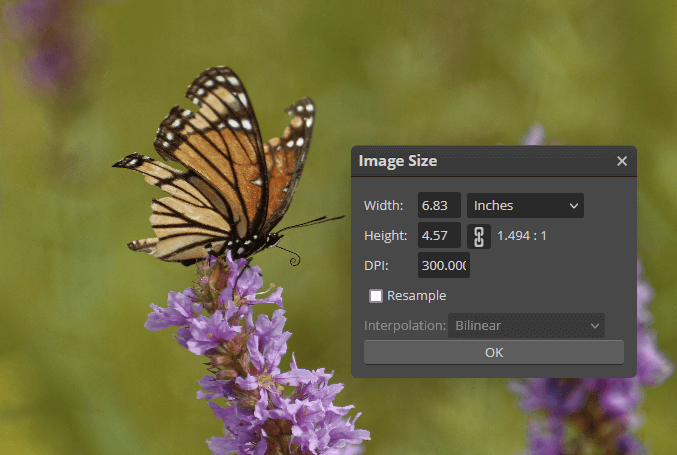
Click the OK button. If things have gone properly, you won’t see any difference in the way your image is displayed, but layout design software should be smart enough to read the pixel density information and interpret the image correctly.
That’s all there is to it!
Of course, you might also need to change the size of your image at the same time, but it can get confusing if you try to apply both of these adjustments at once.
Advanced Method: AI Upscaling
Despite what I said in the introduction about CSI and image enhancement, recent advances in machine learning have created a whole new generation of programs that claim to be able to increase the size of your image without losing any image quality.
Topaz Gigapixel AI is probably the most popular AI upscaling program, although On1 Resize AI should be released shortly to provide some additional competition.
These types of programs are still fairly new, but a number of companies are jumping on the bandwagon and it’s only a matter of time before the technology advances more rapidly.
That being said, it’s also important to manage your expectations about the quality of results you’re going to get.
In some images, the tools work quite well, but oftentimes you’ll find that image quality does suffer. After all, the computer is still just guessing about what a larger version of the image would look like, (although to be fair, they are very good guesses).
I don’t think I’d rely on these tools for fine art image editing, but for more casual uses, they’re worth exploring.
They all cost somewhere around $100 as of this writing, but it’s not likely that a free or open-source version will be released any time soon, so you might want to test out a free trial of the paid apps and see for yourself.
A Final Word
Working with image resolution is actually pretty simple, once you know how it works. Thanks to the excellent online image editor Photopea, it’s easy to change the resolution of a picture without Photoshop.
Happy editing!
About Thomas Boldt