
Just like making a banner for a website or other social media, there are four key elements for making a YouTube banner: size, image, icons, and text. The only difference here is the size.
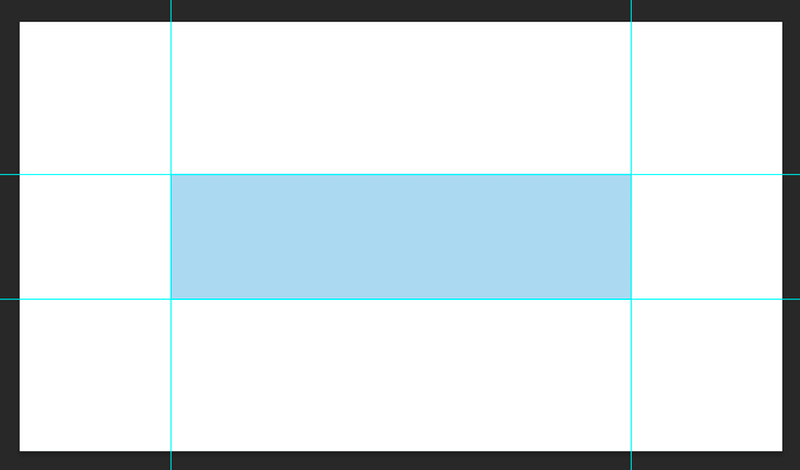
A common YouTube banner size is 2560px by 1440px but make sure that you have your important information positioned within the safe area, which is 1546px by 423px. This size will show on basically all devices like desktops, mobile, tablets, etc.
In this tutorial, you will learn how to create a YouTube banner in Photoshop in seven easy steps.
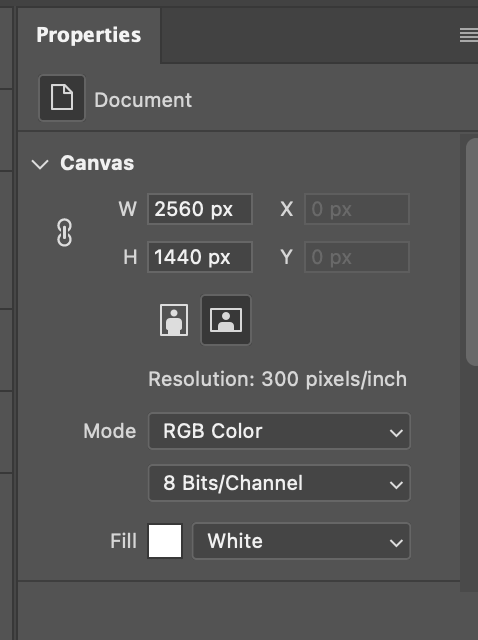
Step 1: Create a new document in Photoshop and change the size to 2560px by 1440px. Remember to choose the RGB color mode since it’s going to show on the web.
You can see and edit the document settings on the Properties panel.
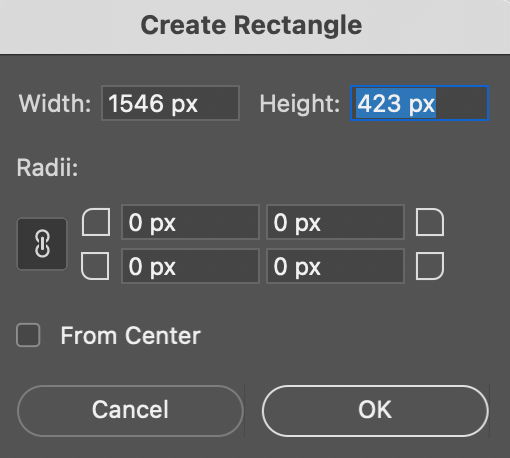
Step 2: Define the safe using the Rectangle Tool to create guides. Create a 1546px by 423px rectangle and align it to the canvas center.
Go to the top menu and select View > Rulers. You should see the rulers on the top and left sides of the document. Click and drag the rulers to the four edges of the rectangle. The rectangle area is the safe area for your important content.
You can delete the rectangle now.
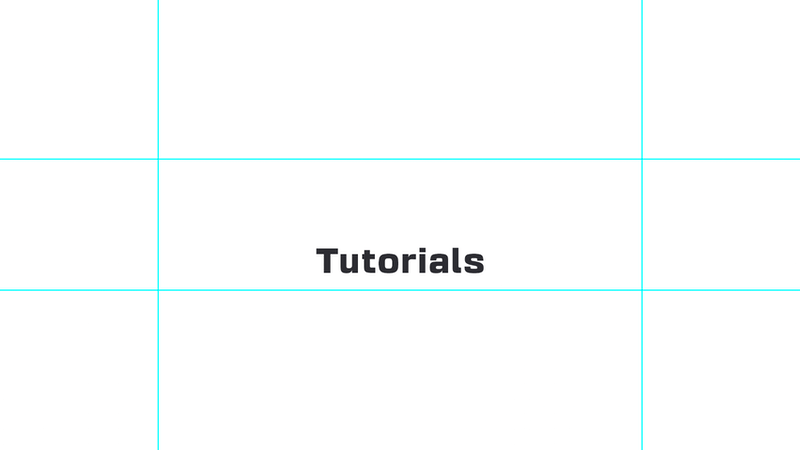
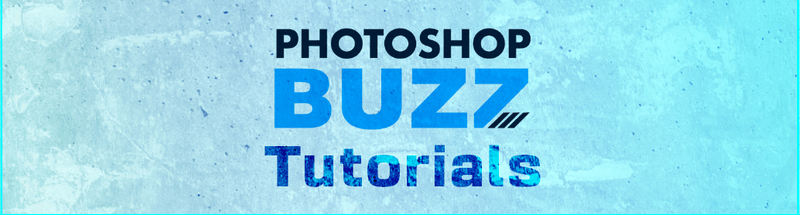
Step 3: Use the Type Tool to add text to the banner (within the safe area). Since it’s going to be a simple banner, choose a nice font will make a huge difference.
Note: if you decide to download fonts online, make sure it’s free for commercial use.
You can change the color and position of the text later depending on the background image you’ll choose.
Step 4 (optional but recommended): Place your logo into the Photoshop document if you have one. Resize the logo to fit within the safe area.
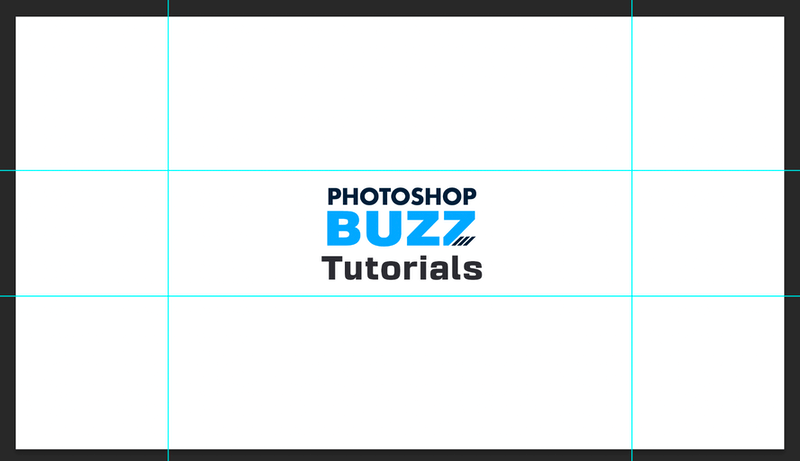
It’s highly recommended to put your logo on the banner, if you have no idea how to design a logo from scratch, there are some online logo makers that can help you. For example, Canva is not a bad option 🙂
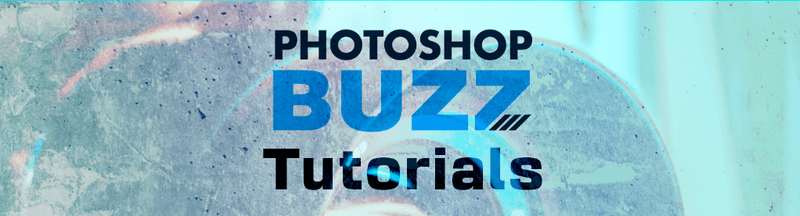
Step 5: Add a background image to your banner. I added this simple image as my background.
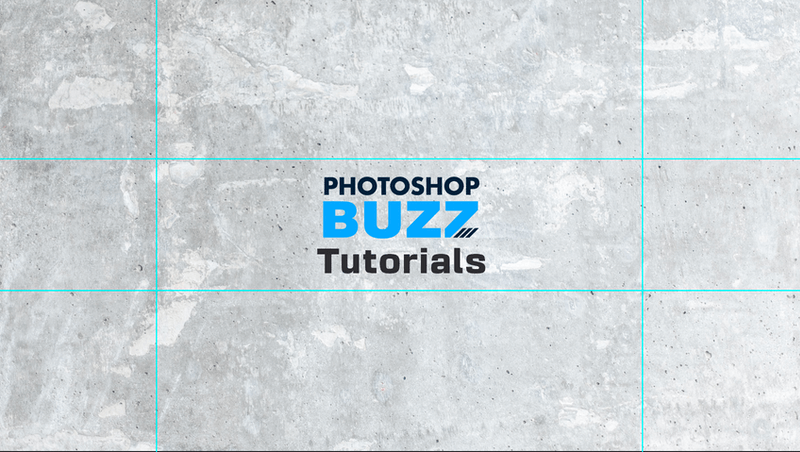
Yeah, it looks pretty dull, but don’t worry, in the next steps, we will start adding effects.
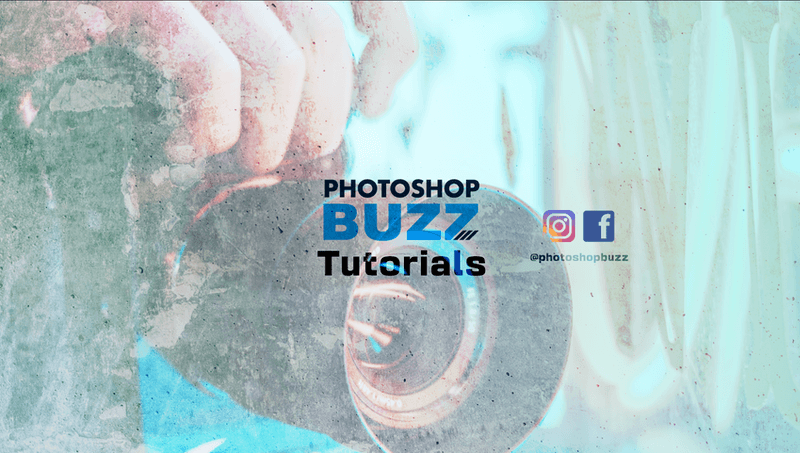
Step 6: Add effects to the banner. The easiest thing you can do is change the blending mode in the Layers panel.
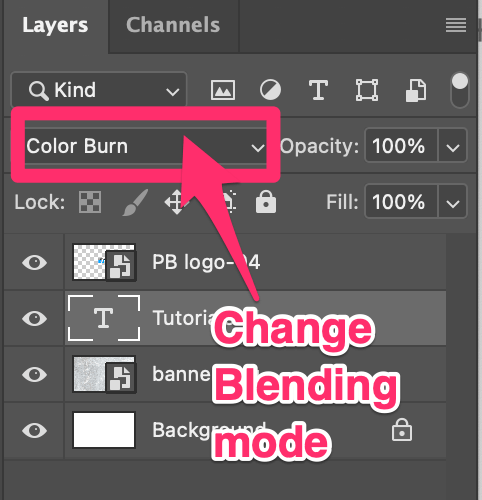
For example, I changed the blending mode for my text and logo layers.
If you want to add a layer style or adjustment to the background image, select the background image first. Otherwise, the effect will be applied to all.
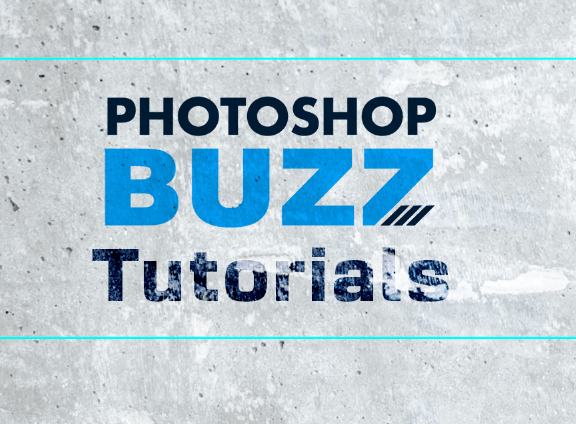
I added a gradient to the background.
If you like a more dramatic effect, you can add another background image and blend two images together.
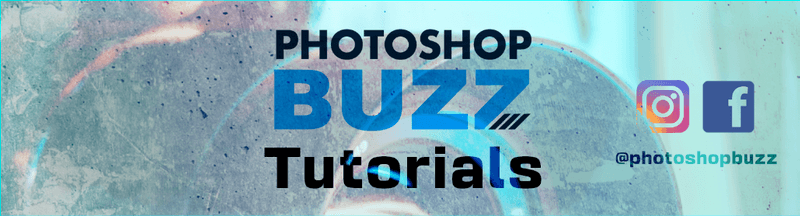
Step 7 (optional): You can also add social media icons so that viewers can find you on other mediums as well.
Once you have all the key content in the safe area, you can turn off the guides.
That’s pretty much it!
Follow the steps above and you can make a basic YouTube banner. I used the easiest example for this tutorial, but feel free to add anything you want to the banner. Again, the key is to keep the important information within the safe area.
About June