
You’re probably thinking that Photoshop is not known for making vector graphics. Right! Normally you would use Adobe Illustrator to do the job but for a simple heart shape, it’s totally doable in Photoshop and it’s super easy.
Two circles and a square, that’s the solution. Actually, you don’t even have to create one from scratch if you don’t want to because Photoshop has its default heart shapes. All you need to do is to find them in the right place, and I’ll show you exactly where and how.
Keep reading.
Table of Contents
2 Quick Ways to Make a Heart in Photoshop
You can make a heart in Photoshop using the shape tools. Actually, you can find different kinds of heart shapes from the Custom Shape Tool, or you can create them from scratch using the Rectangle Tool and Ellipse Tool.

Note: All screenshots are taken from Adobe Photoshop CC Mac version. Windows or other versions might not look the same.
Method 1: Custom Shape Tool
Step 1: Open the Shapes Panel from the top menu Window > Shapes.
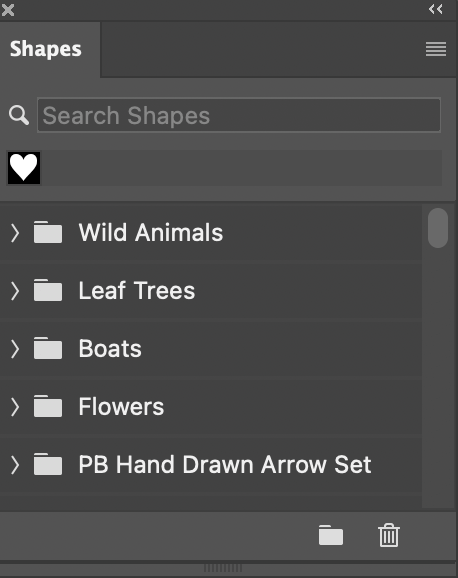
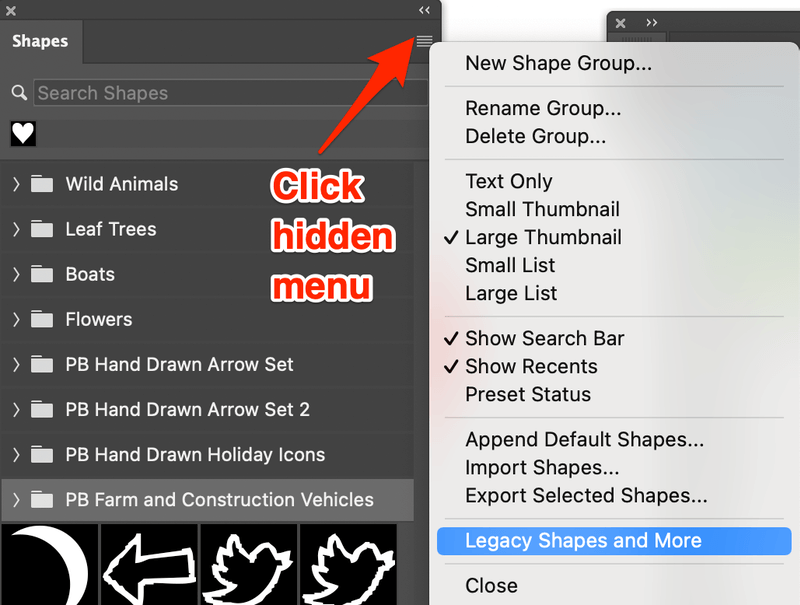
Step 2: Click on the hidden menu in the top right corner of the Shapes panel and select Legacy Shapes and More. This step saves you time from finding shapes in folders one by one.
Step 3: Type in heart in the Search Shapes box and all the heart shapes available will show.
Step 4: Select the heart shape you like and drag it to the canvas.
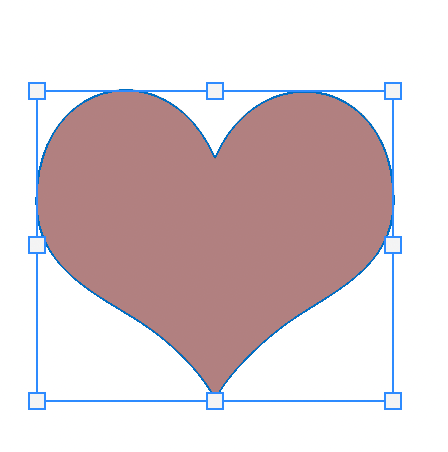
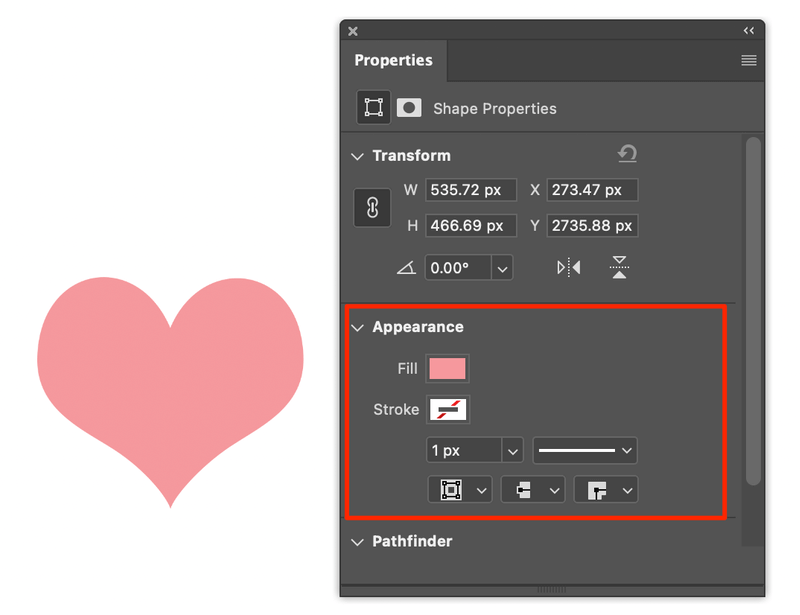
The color of the heart shape is the foreground color you previously selected. You can change the color and stroke from the Properties > Appearance panel.
Method 2: Create from scratch
Step 1: Select the Rectangle Tool from the toolbar. Click on the canvas and type in the Height and Weight value to create a square shape.
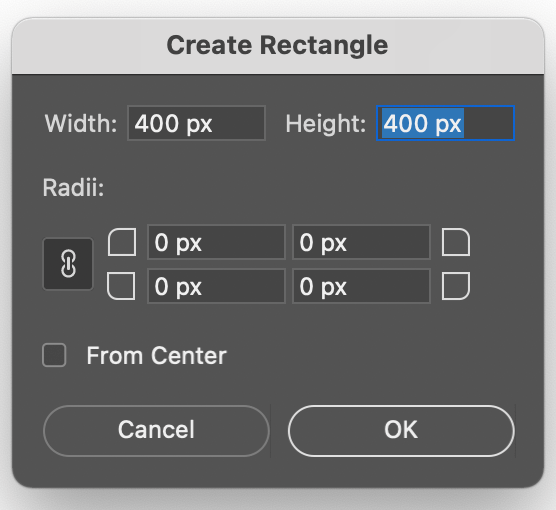
Let’s make a 400 x 400 px square.

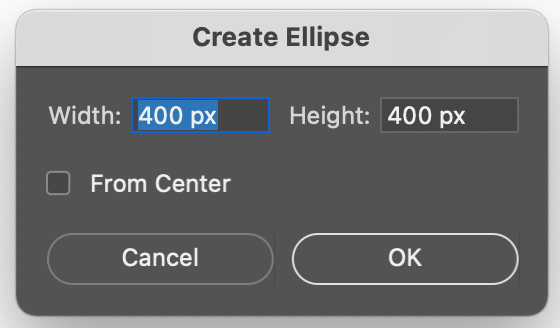
Step 2: Select the Ellipse Tool. Click on the canvas and type in the same value 400 x 400 px to make a circle.
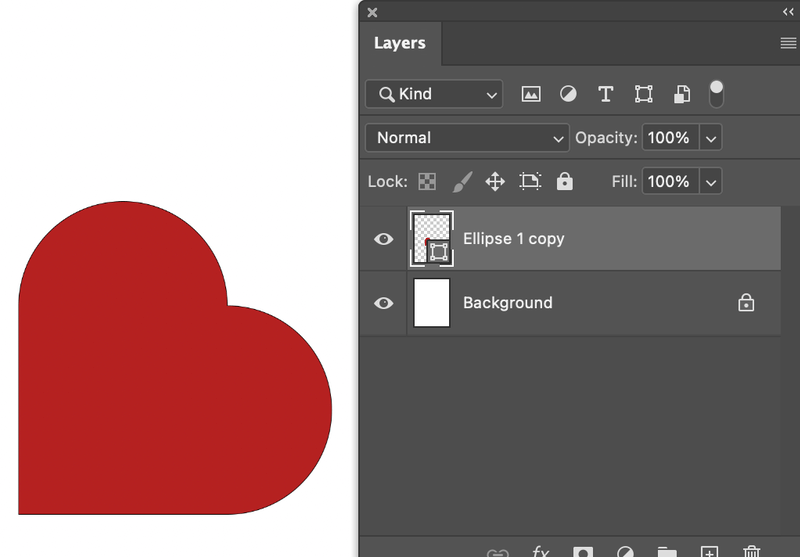
Step 3: Select the Ellipse shape layer, and hit Command + J on the keyboard to make a copy of the layer.
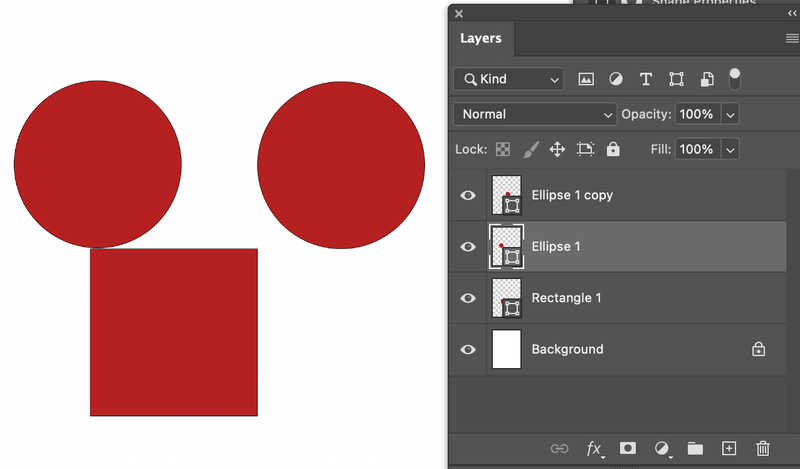
Move the shapes to the position below. You can already see the heart shape now but you’ll need to get rid of the strokes from the circle in the next step.

Step 4: Select the three shape layers, right-click, and select Merge shapes.
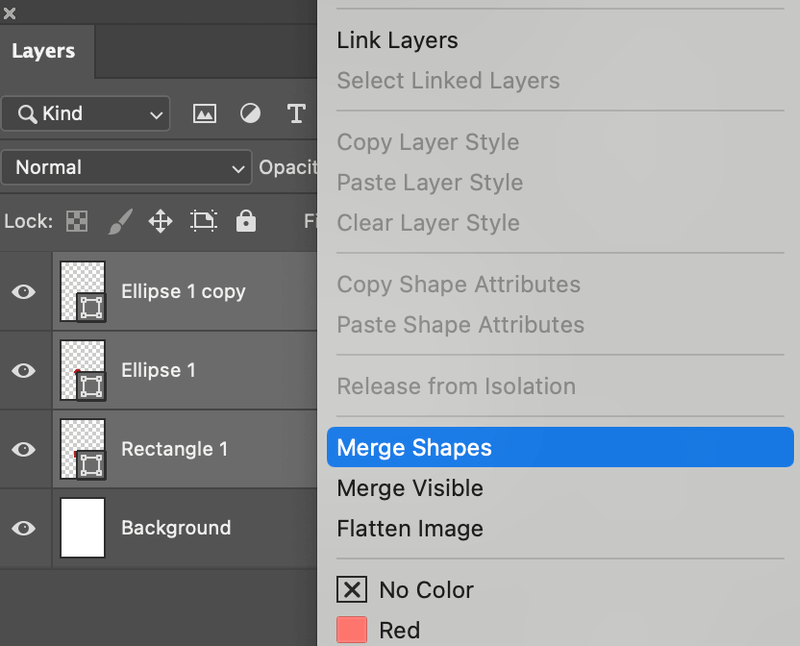
The heart shape is now at a 45 degrees angle.
Step 5: Hit Command + T and rotate it to the angle you need. That’s all.

Same thing, you can change the color and stroke from Properties > Appearance.

Conclusion
The quickest and easiest way to make a heart shape in Photoshop is using method 1. Simply find the default shapes and use them in your artwork.
Of course, it’s always good to know the basics of how things work. Creating a heart shape from scratch takes you through the shape creation process. Now you know how to merge shapes to create a new one, which is the highlight takeaway from method 2.
About June