I missed the time when I was playing with the negative films at my mom’s Kodak shop. Well, with everything going digital, today we are not working in the small dark room anymore to see the negatives. I’m going to show you how to make a negative in Photoshop.
Converting a color photo into a negative image is so easy, if you don’t need a frame, you can do it in just three steps. In this tutorial, I’ll show you a simple way to make a negative film effect in Photoshop.
Let’s dive right in!
Table of Contents
How to Make a Negative in Photoshop (2 Parts)
You can follow the steps to create the frame, and then re-size the frame to the size you want and drop it in the photo.
Note: the screenshots are taken from Adobe Photoshop CC Mac version. Windows version can look different.
Part 1: Making a Negative Film Frame
Step 1: Create a new document in Photoshop and set the size to 400 x 400 pixels.
Step 2: Select the Rectangular Marquee Tool from the toolbar.

From the top toolbar, you can set the style to Fixed Size, and the width and height to 174 ×160 pixels.

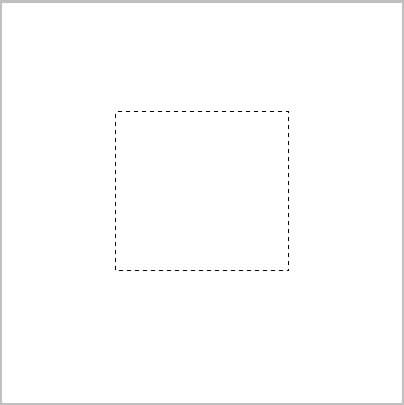
Click on the canvas to create a rectangle, and move the rectangle marquee to the center of the canvas.
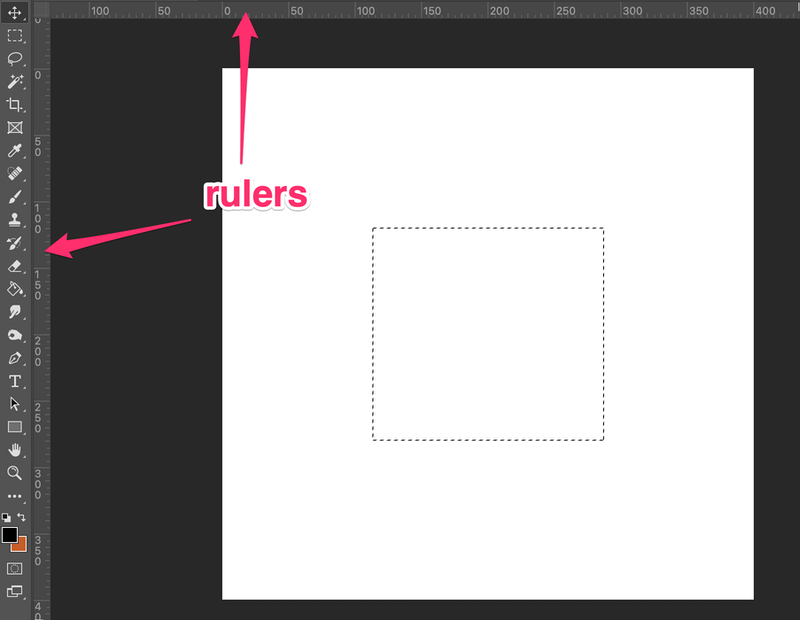
Step 3: Hit Command + R (or Ctrl + R for Windows users) to activate the rulers. You should see the rulers on the top and left sides of your document.
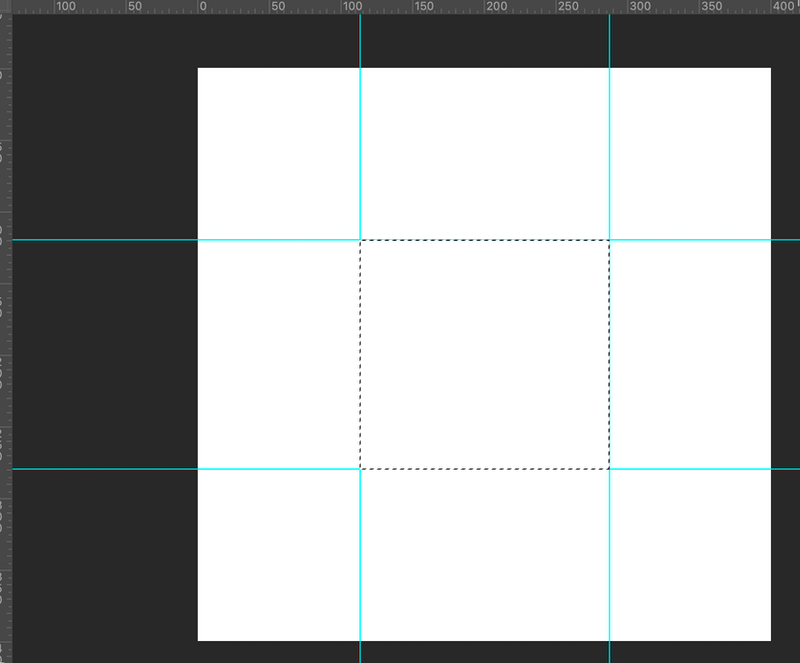
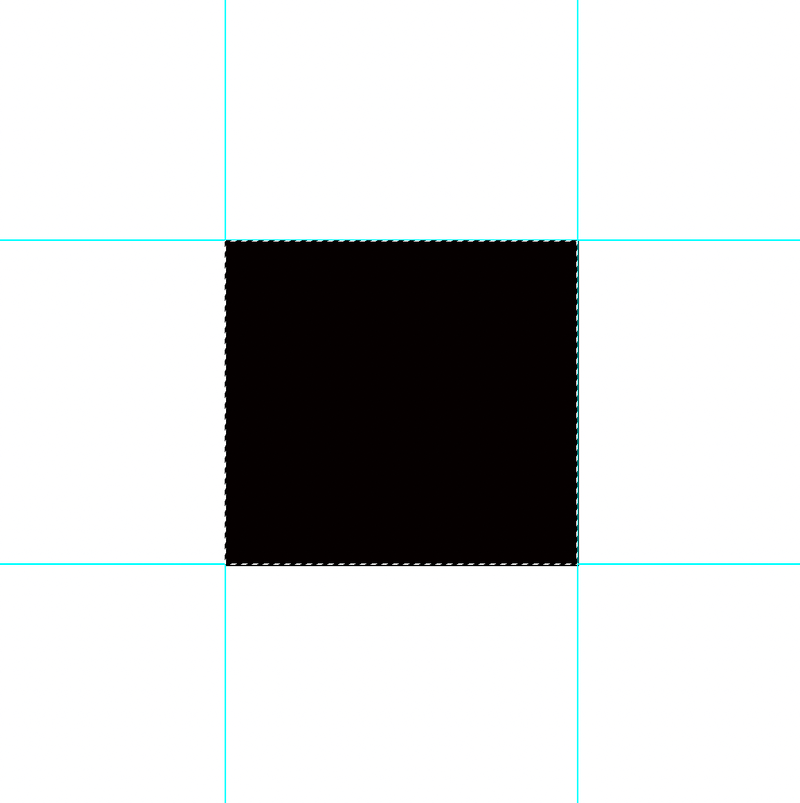
Click on the rulers and drag the guides across from the top and left and place them in line with the selected area, to meet the corners of the rectangle.
You can use the Rectangle Tool from the toolbar and draw a rectangle to cover the area of the marquee to see it better.
Now we are going to pull out more guides. Leave 5px from the sides (the x value, you’ll see x:5.0px) to the canvas border, and 24px from the top and bottom (the Y value, you’ll see Y:24px). When you click and drag on the ruler guide, you’ll see the value.
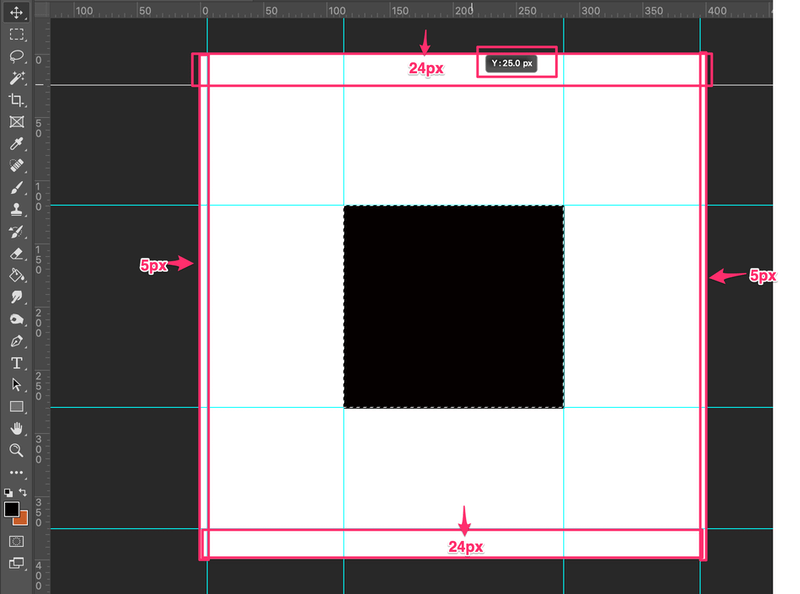
Step 5: Select the rectangular in the center that you drew earlier, and expand it to the intersecting corners of the guides you just created. Leave 24px at the top and bottom, and 5px on the left and right sides of the canvas border.

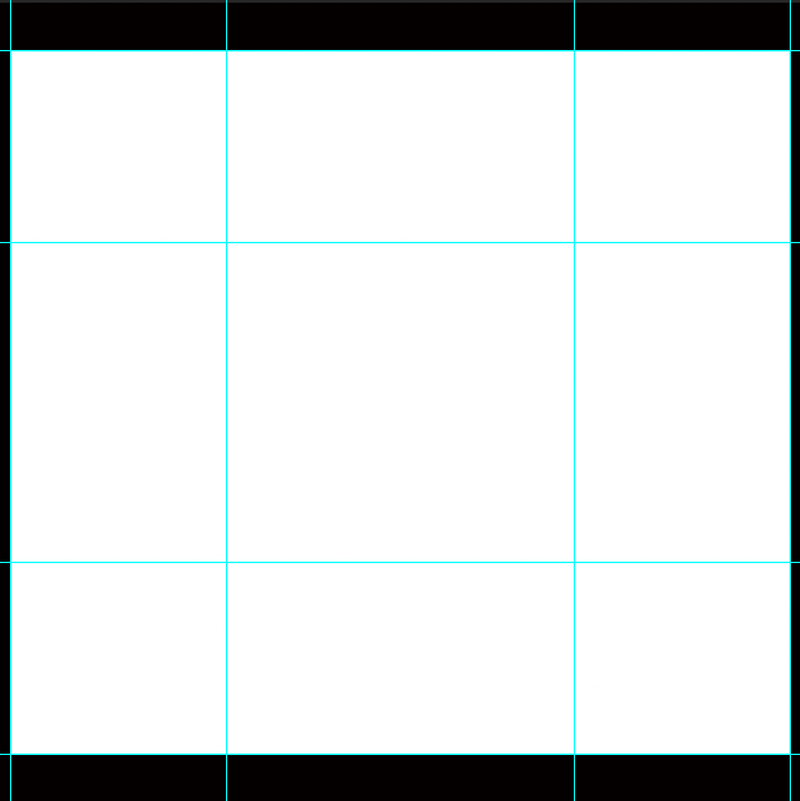
Step 6: Select the rectangle and go to the top toolbar and select Subtract Front Shape.

Now your canvas should look like this.
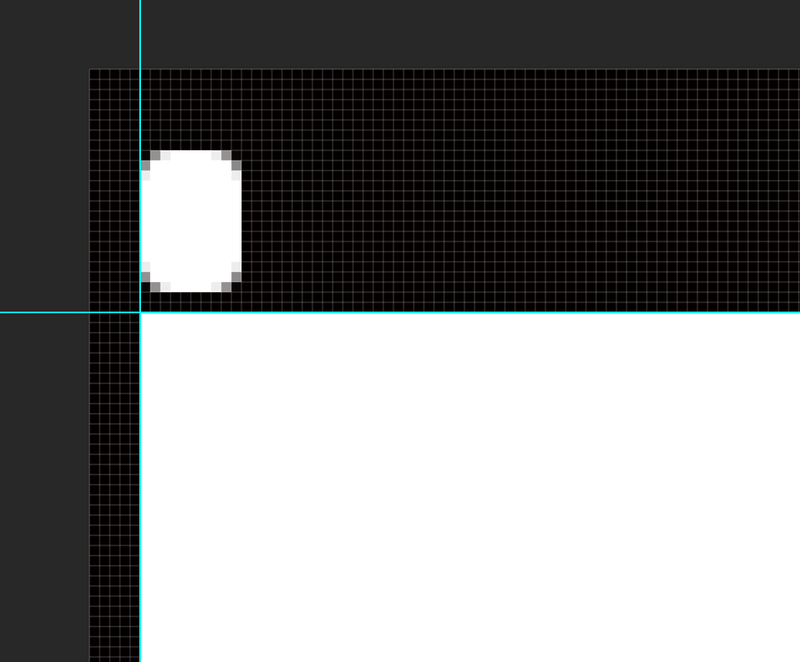
Step 7: Add a new layer and select the Rectangle Tool. Set the width and height to 10 x 14 pixels, the round corner to 3px.
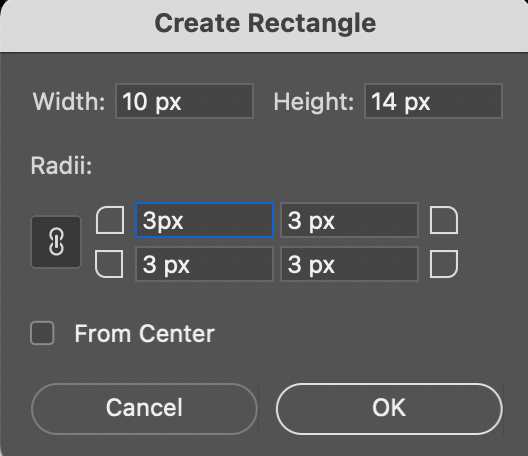
Move the rounded rectangle to meet the guide. Give it a 5px space from the white part.
Step 8: Duplicate the layer (rounded triangle) and move it to the right-hand side. Keep around 12px space in between. When you drag, you will see the value in a small box.
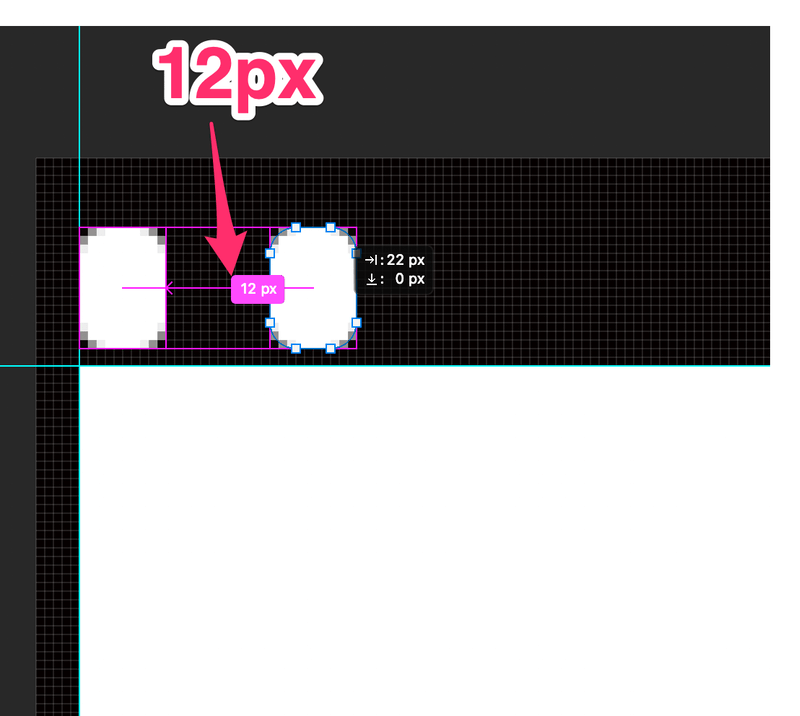
Keep duplicating the rounded rectangle and keep all spaces in between at 12px.
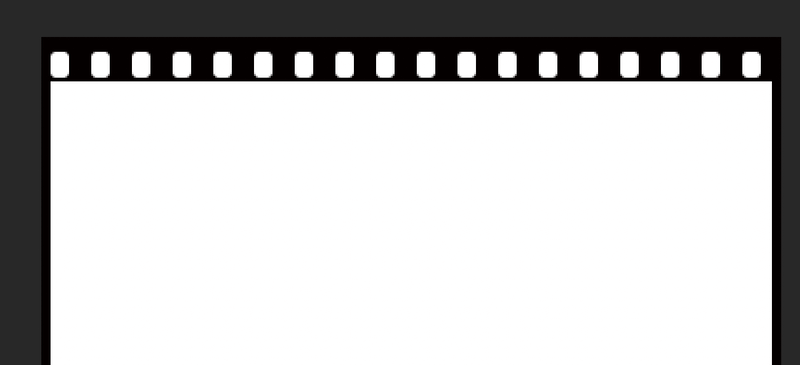
Group the duplicated layers and make a copy of the group.
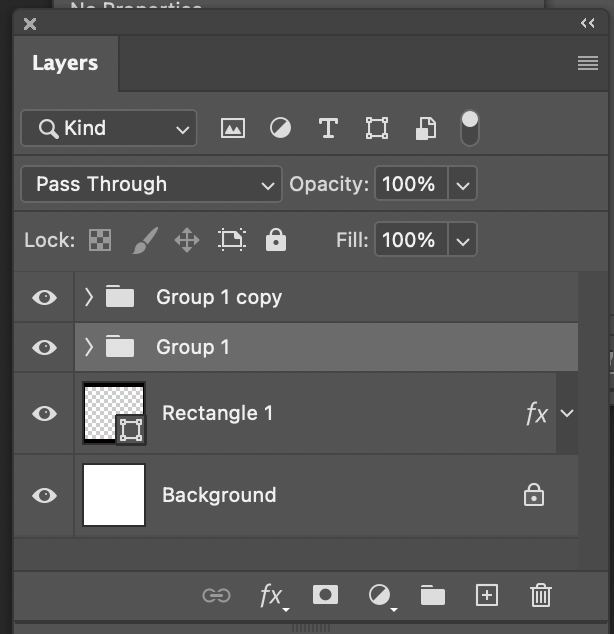
Select the group 1 copy and hit Command + T (Ctrl + T for Windows users) to move the copy of the rounded rectangles to the bottom part of the negative film. That’s it!

If you want to turn off the guides as I did, you can go to the top menu > View > Clear Guides.
I’ve added a gradient overlay to the film. You can also wait to add the style and effects after you add the image.
Part 2: Making a Negative Photo
Step 1: Drag the image you want to make negative to the same Photoshop document as above, resize it as need,ed and drag it underneath the rectangle layer.
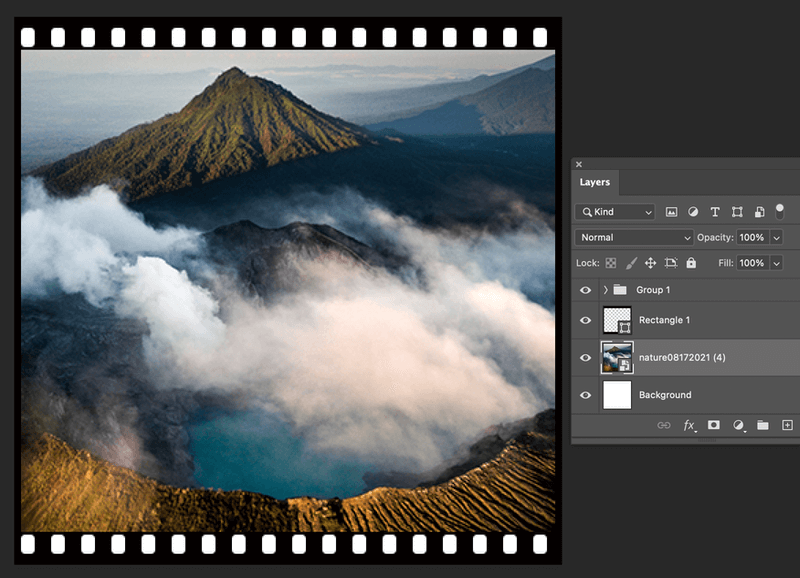
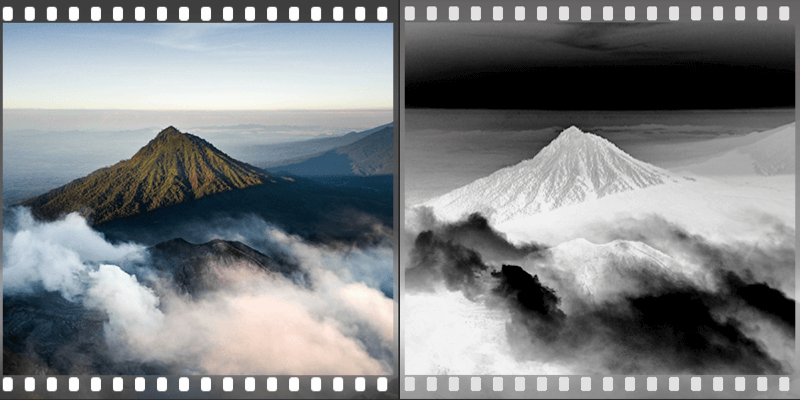
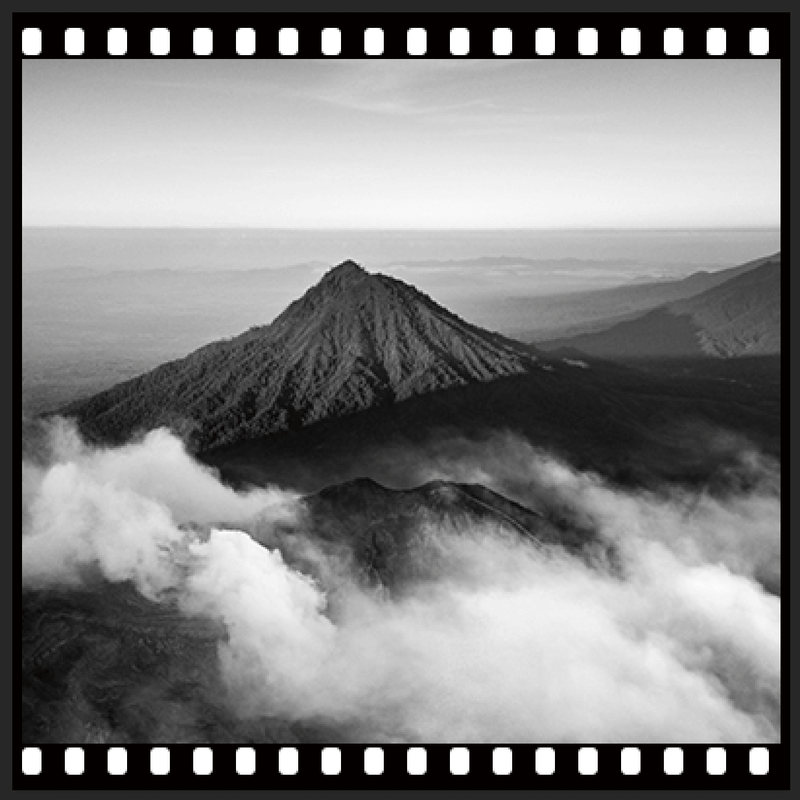
Step 2: Select the image layer and go to the top menu Image > Adjustments > Black & White.
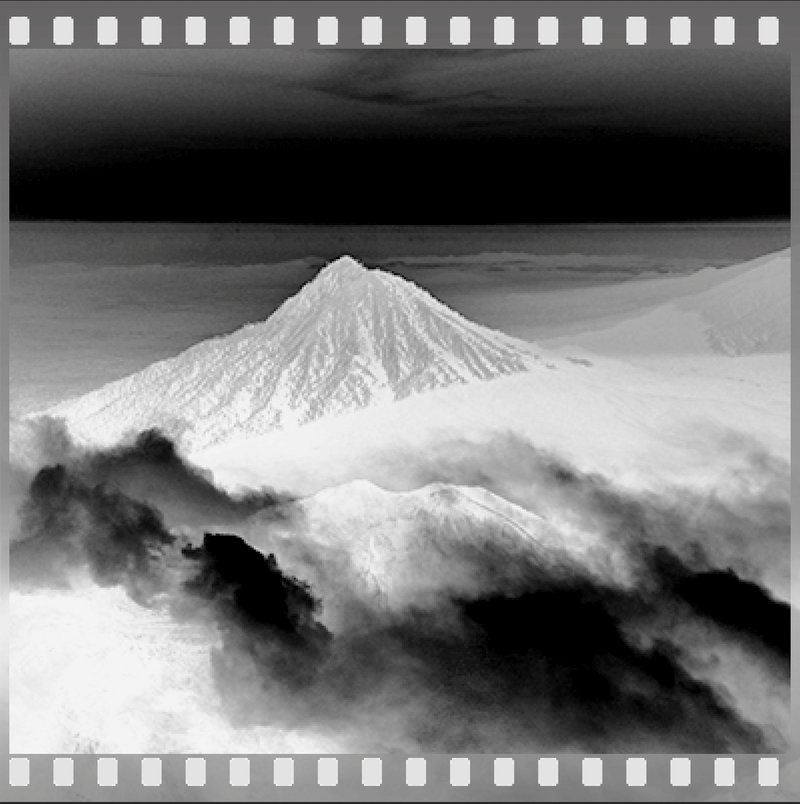
Step 3: Go back to the top menu again and select Image > Adjustments > Invert.
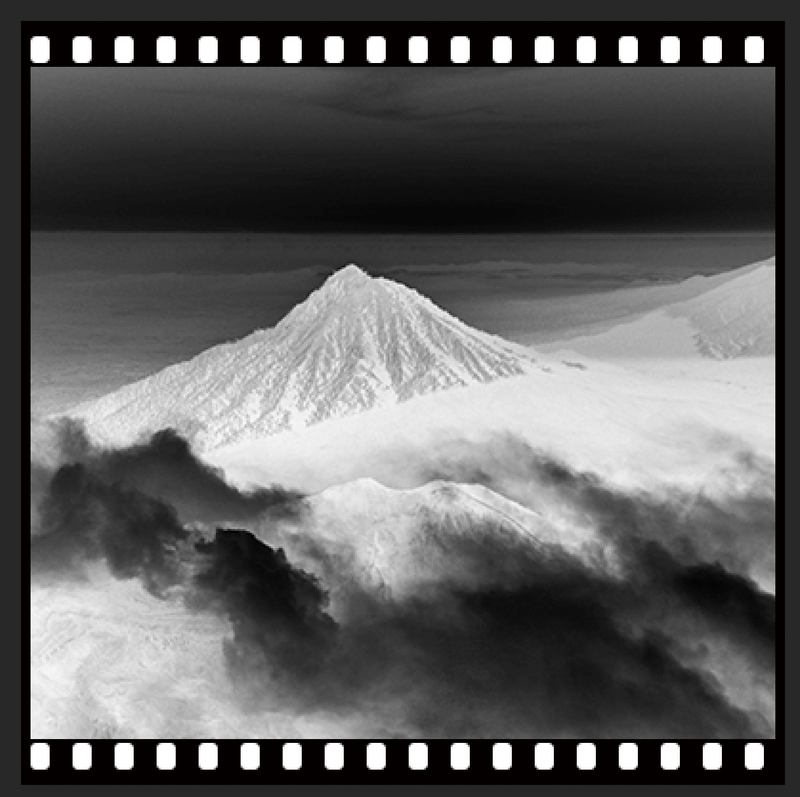
Technically, it’s done, but we are adding some layer styles and adjustments to make it better.
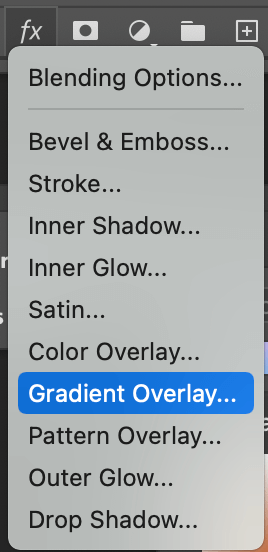
For example, I’m going to add a gradient effect to give the image a softer look. I’ve also lowered the opacity of the gradient overlay, so it looks more naturally blended.
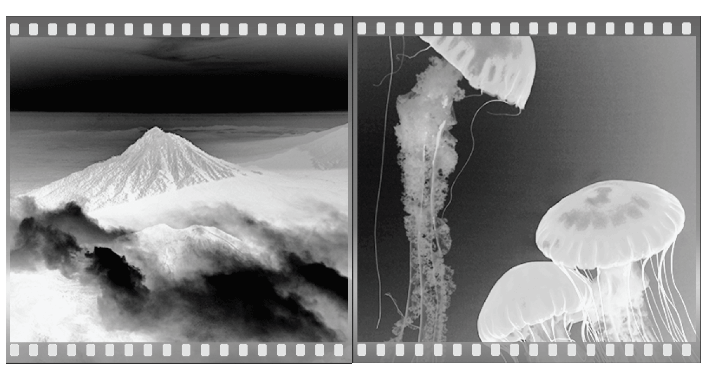
If you want to create a strip of negative frames simply copy and paste the frame layers and reposition on the end of the first negative and add a new image.
Conclusion
Making a color photo negative is basically making a photo black & white and inverting the colors. Then you can add gradients or other adjustments to optimize the result. It might seem complicated to create the film frame, but all you have to do is follow the guides and repeat. Easy!
About June
June
Hi Lauren, You are welcome to share the tutorial so long as you provide a link back to my post. Thanks for letting me know 🙂
Johanna
Hi!
I really like this tutorial! But i don’t really get the part in step 10.. You think you could try to explain that one to a dumbass as me? 🙂
Thanks alot, great job!
June
Hi Johanna, Step 10 is all about combining the shape layers to get all of your shapes onto one layer. Once they are combined you can then manipulate them all on one layer and apply transparencies and layer effects. To do this you have to select one shape layer at a time and copy and paste it onto another shape layer – in this case subtract the smaller shapes from the larger one. I hope that makes sense and is of some help! Thanks for your comment.