Turning part of an image into scattered pixels is a cool effect that you can easily create in Photoshop. There are several ways to do it, you could use the clone tool, or simply use the brush tool to draw on different layer masks.
Anyways, the secret weapon is a square brush.
In this tutorial, I’m going to show you a quick and easy way to create a pixel explosion effect in Photoshop using the brush tool.
Note: the screenshots are taken from Adobe Photoshop CC Mac version. Windows or other versions can look different. Windows users change the Command to the Ctrl key.
Step 1: Open the image in Photoshop. You can remove the background or select the object you want to add a pixel explosion effect and duplicate it to a new layer.
If your Photoshop version has the Object Selection Tool, try it out. It can quickly select the object.
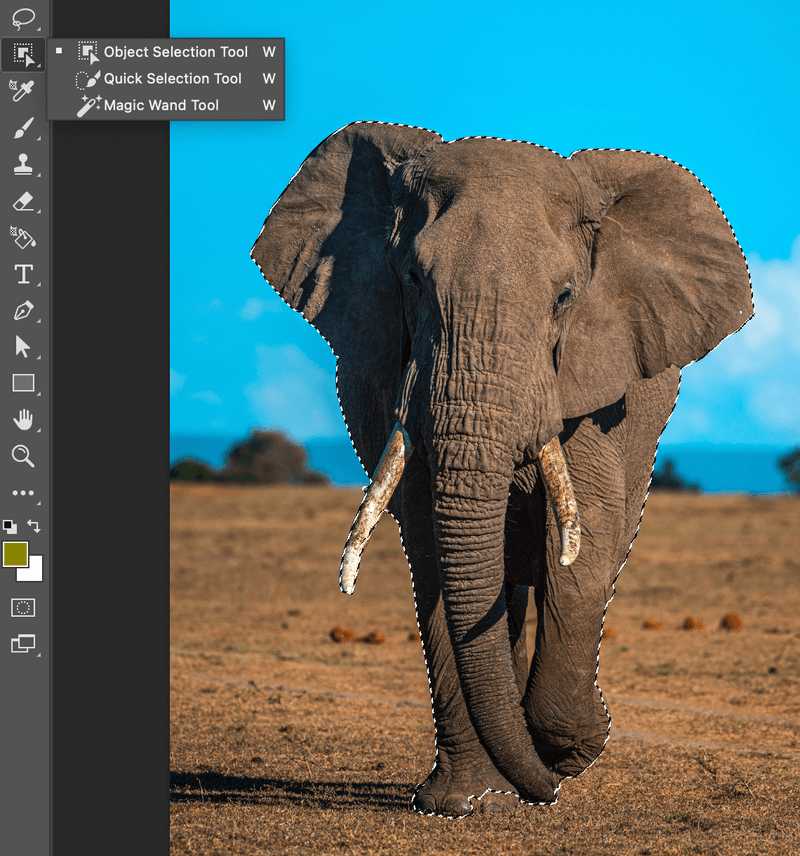
Hit Command + J to duplicate the layer. You can hide the background layer for now.
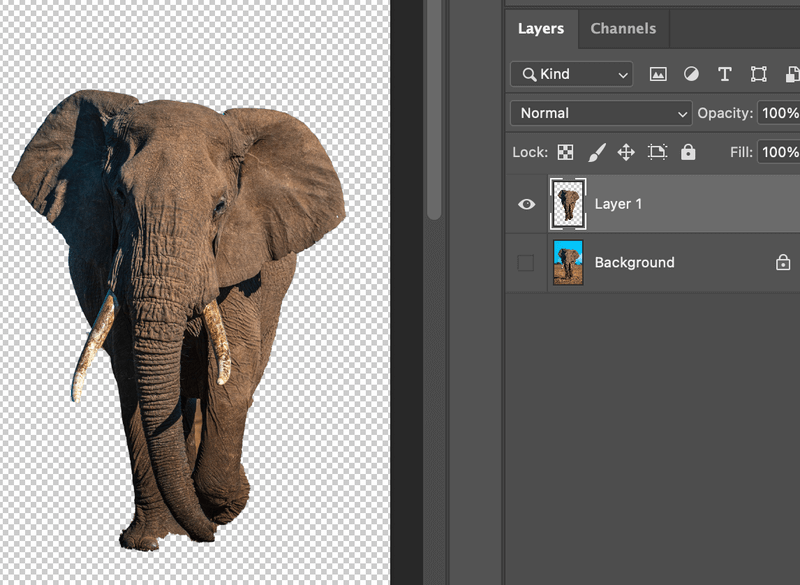
Step 2: Duplicate Layer 1. Select Layer 1 and use the Free Transform Tool (keyboard shortcut Command + T) to enlarge and move the object on Layer 1.
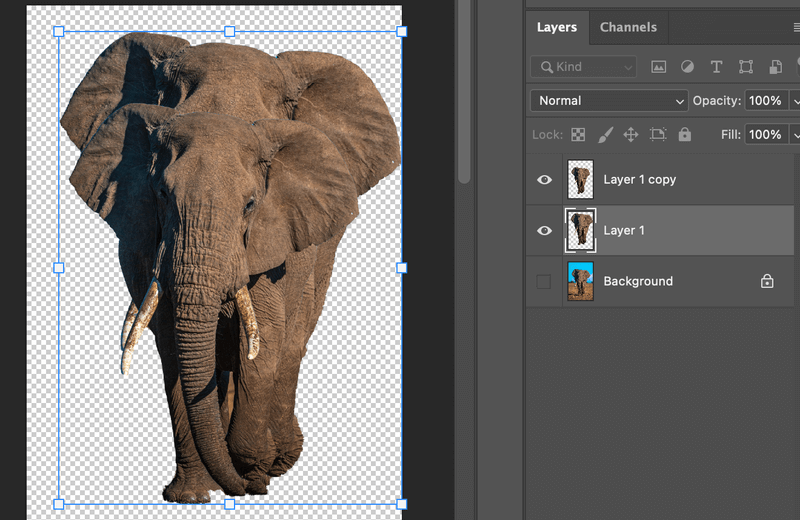
Step 3: Select the same layer, hold the Option and Shift key, then click on the Add a layer mask icon to create an invert layer mask.
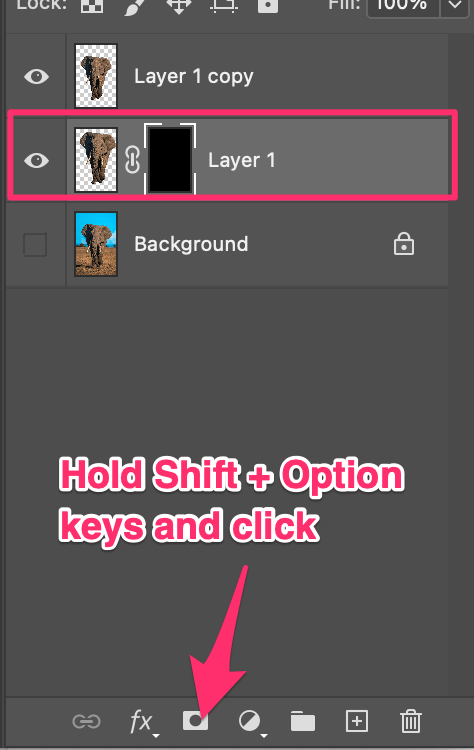
The layer mask should be in black color, and the object on Layer 1 should disappear from the canvas.
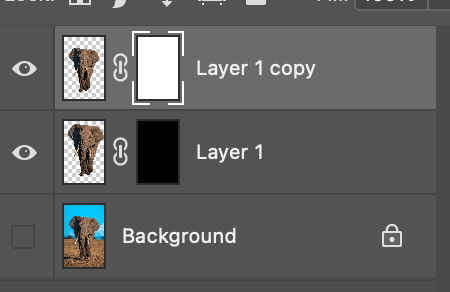
Now select Layer 1 copy and add a layer mask.
Step 4: Open the brush settings from the top menu Window > Brush Settings and select a square brush. If you don’t have it already, you can quickly make a square brush in Photoshop.
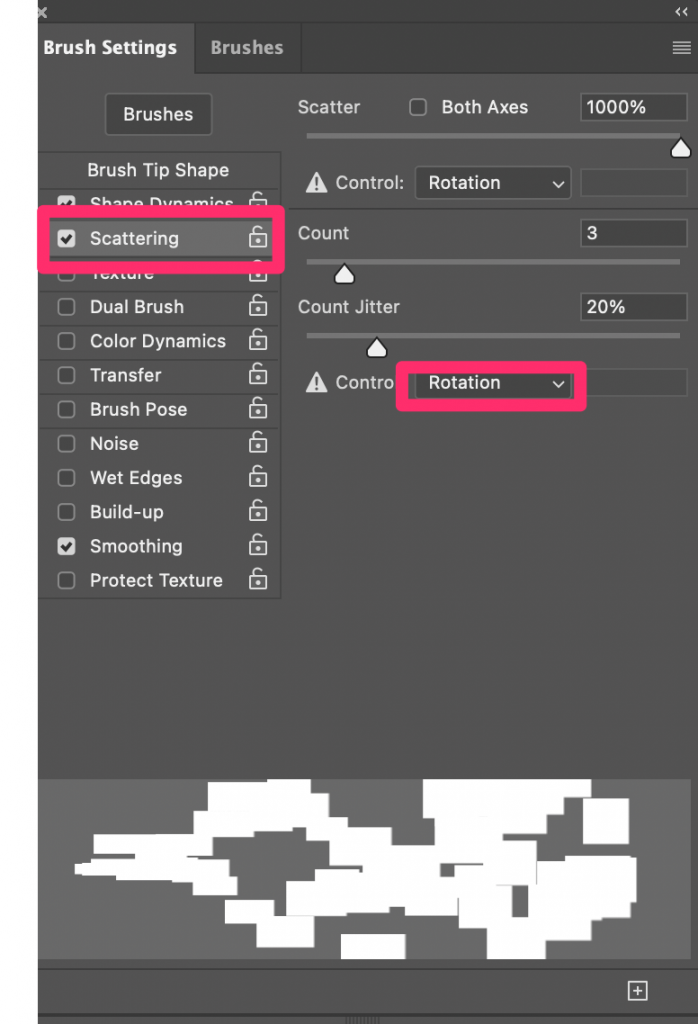
Then check the Scattering option and adjust the settings. Change the Control to Rotation and the value is up to you. You can see the effect in the box at the bottom of the settings window.
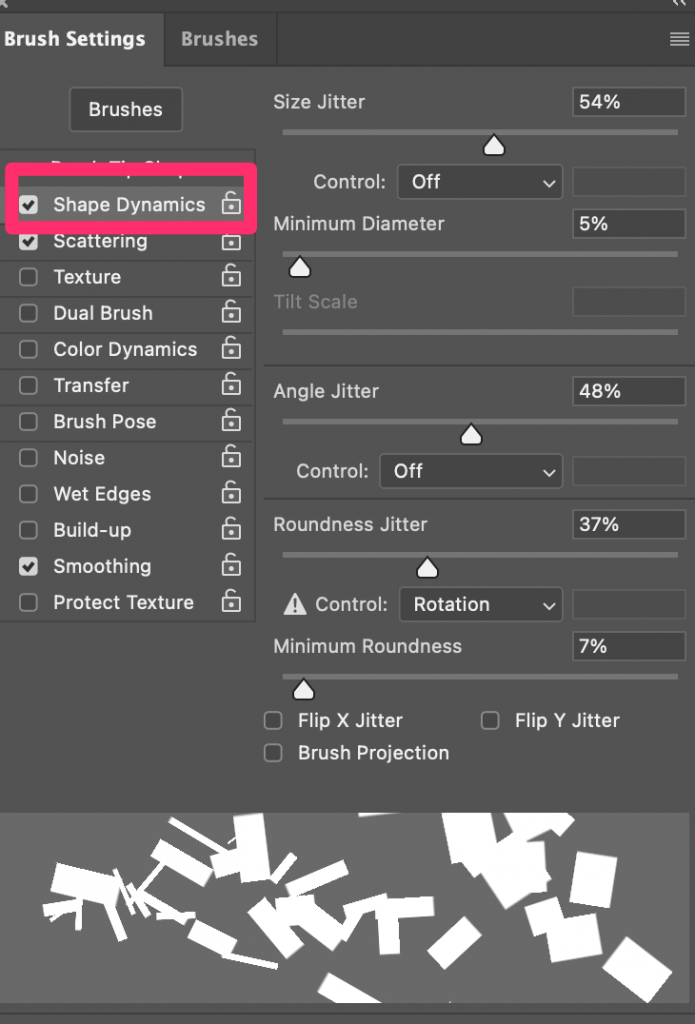
Step 5: Adjust the Shape Dynamics setting. I would say, the more dynamic the better.
You can brush on the canvas to see how it looks and adjust accordingly.
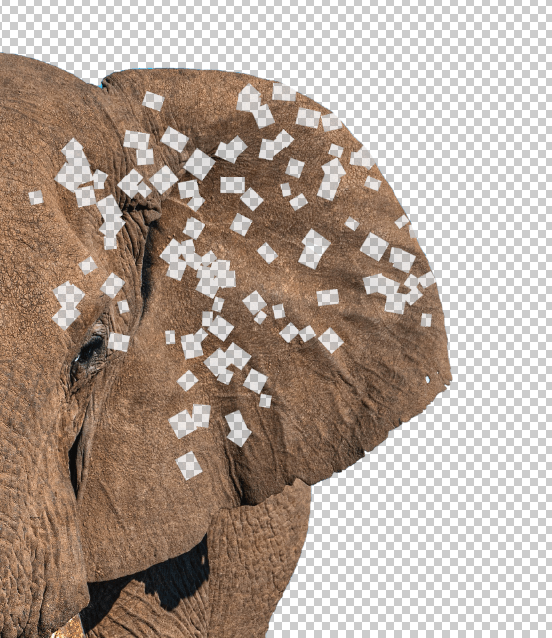
If you’re happy with the effect, go ahead and start brushing on the image. Note: You’ll be using a black foreground color to brush on the layer mask of Layer 1 copy.

You can adjust the brush size to create a more dynamic effect.
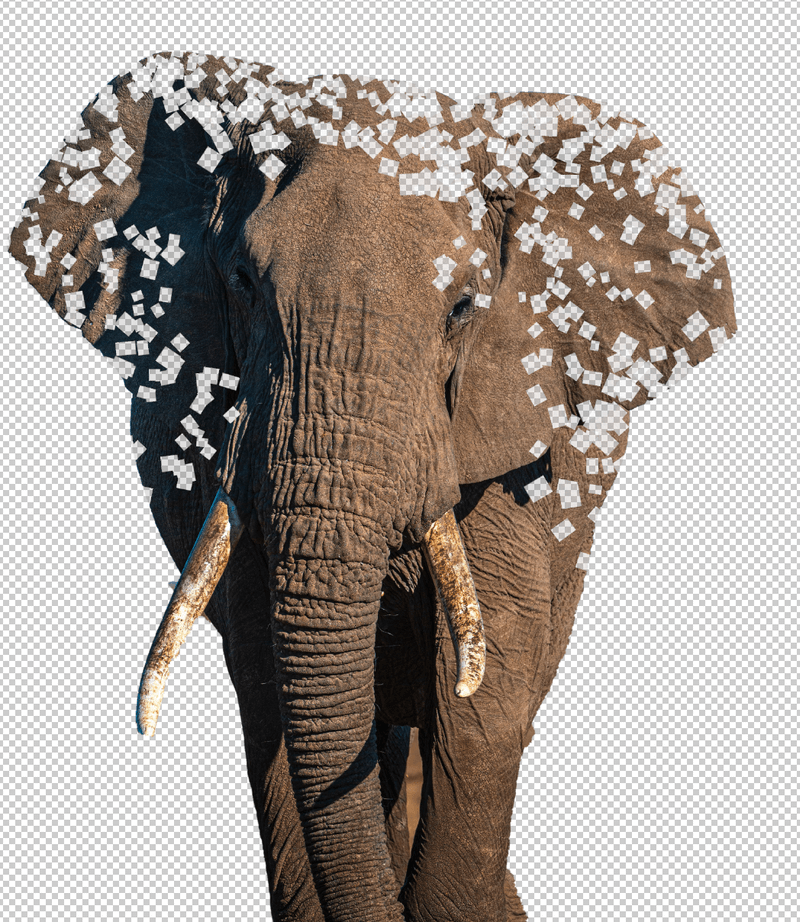
Still remember the image that disappeared when you added the inverted layer mask? The next step is to work on that layer to finish up the pixel explosion effect.
Step 6: Select the inverted layer mask of Layer 1, change the foreground color to white, and brush around the elephant. The disappeared image will start to show in pixels.
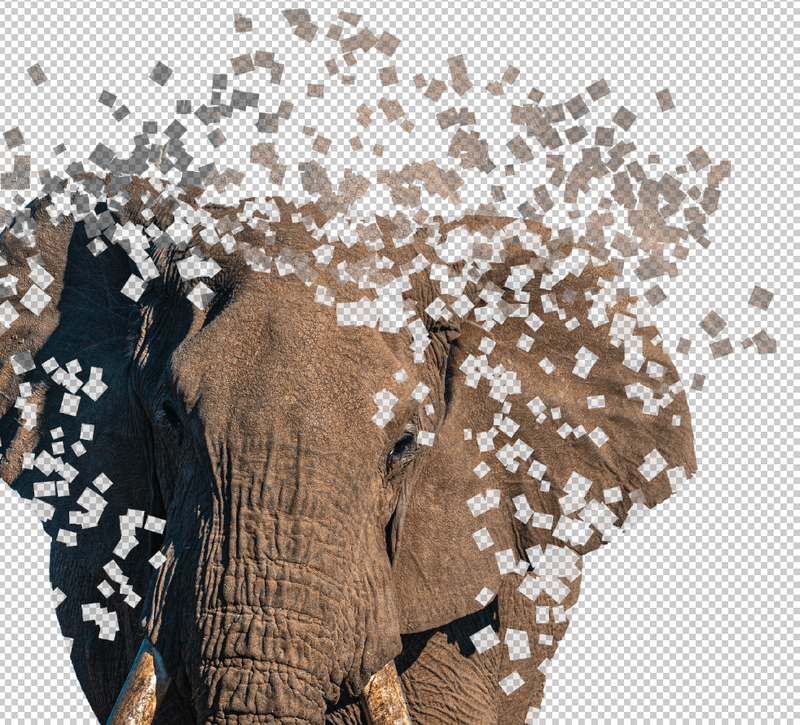
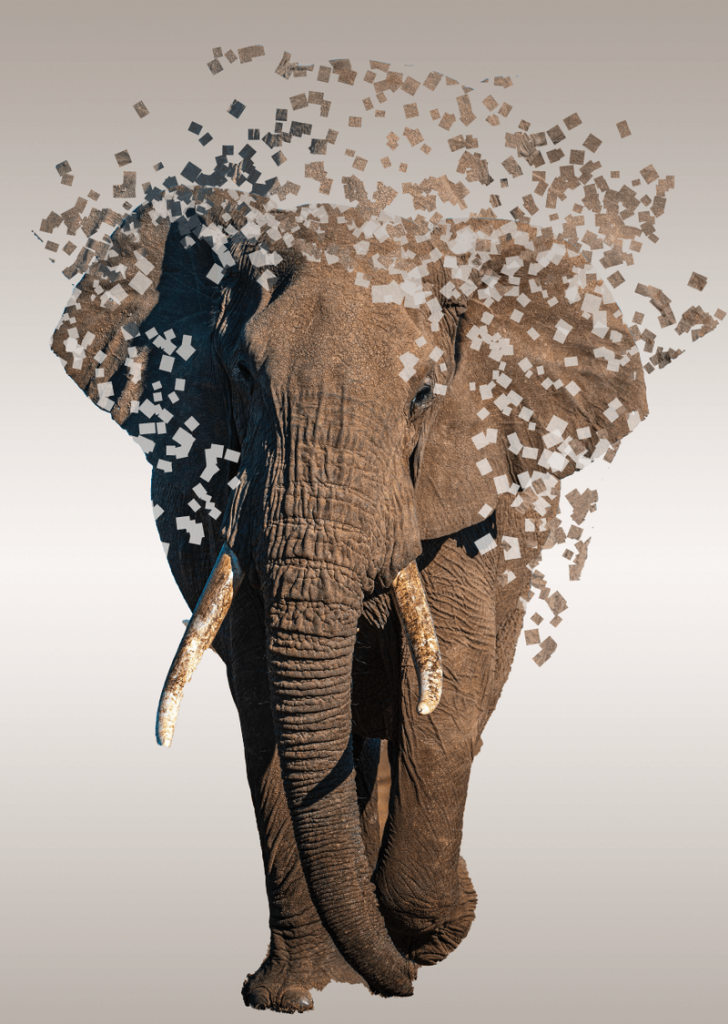
You can add a background to the image if you’d like. For example, added a gradient background.
Wrapping Up
You should be all set. This is probably the easiest way to make a pixel explosion effect in Photoshop. Remember the invert layer mask should be added to the image at the bottom and don’t forget to change the foreground color of the brushes when you work on the layer masks.
About June