You’ve probably already used some gif generators online for quick image gifs, but these online generators can’t offer the same flexibility and result that Photoshop has to offer.
A gif is like a mini animation you can create in Photoshop. When you make a gif, you’re creating motions of the layers. You can make an animated gif from photos, vectors, or from scratch.
In this tutorial, I’ll show you how to create a vector GIF from scratch in Photoshop. For example, I’m going to make a circle animation. The same method can be used to create any shape.
Note: Screenshots are taken from Adobe Photoshop CC Mac Version. Windows or other versions might look different.
Let’s jump into the steps!
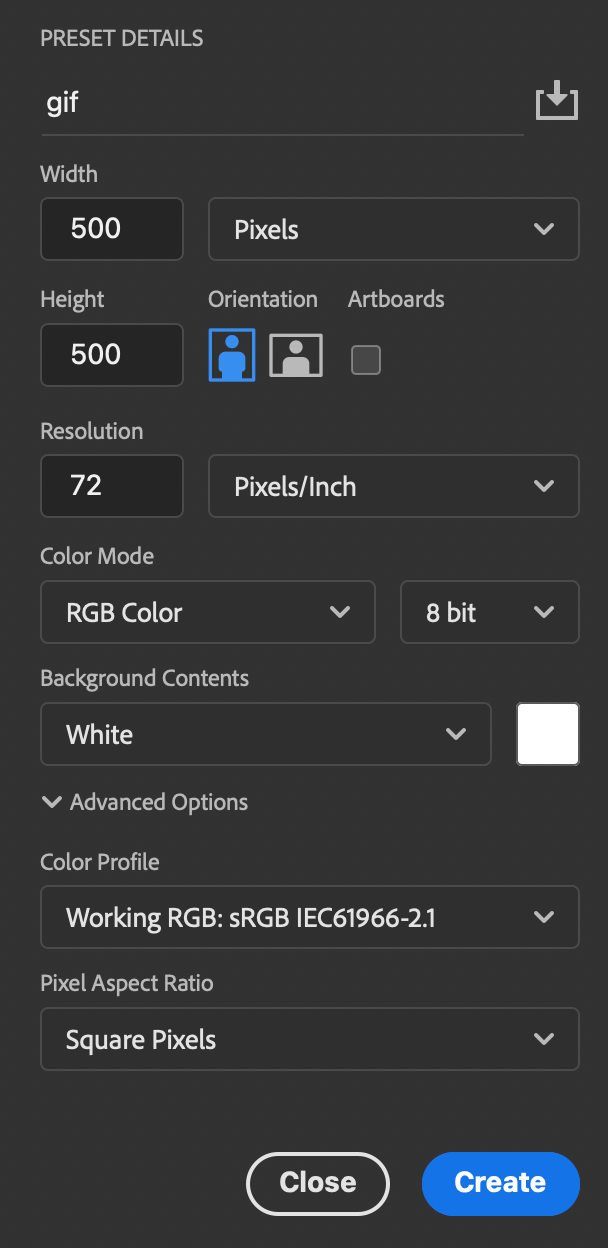
Step 1: Create a new document. Select RGB color mode because gifs are for digital use. You can set the size as you prefer but I recommend leaving as little white space as possible as your image background.
Step 2: Use the Ellipse Tool to create a perfect circle. You’ll see that Photoshop creates a new shape layer for the circle.
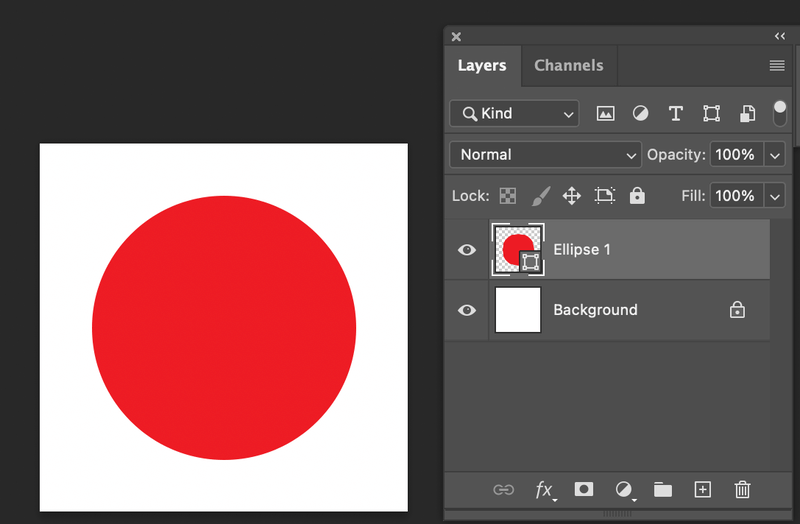
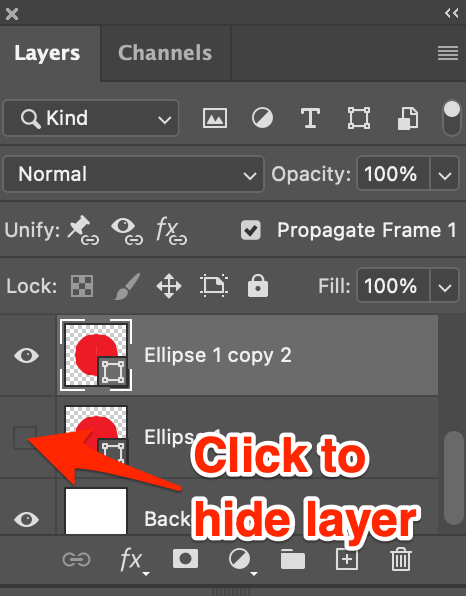
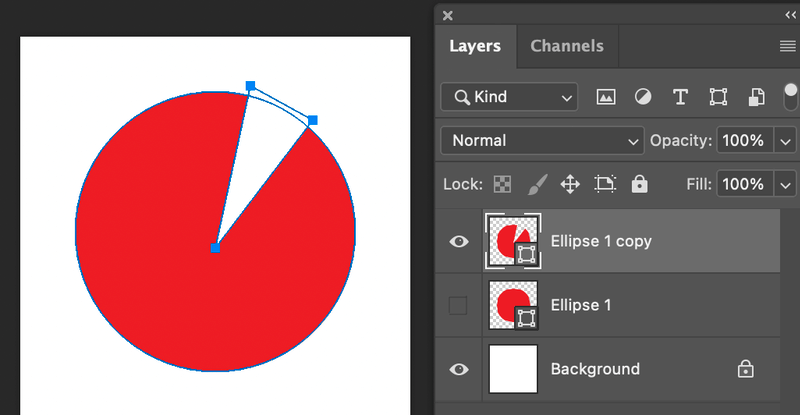
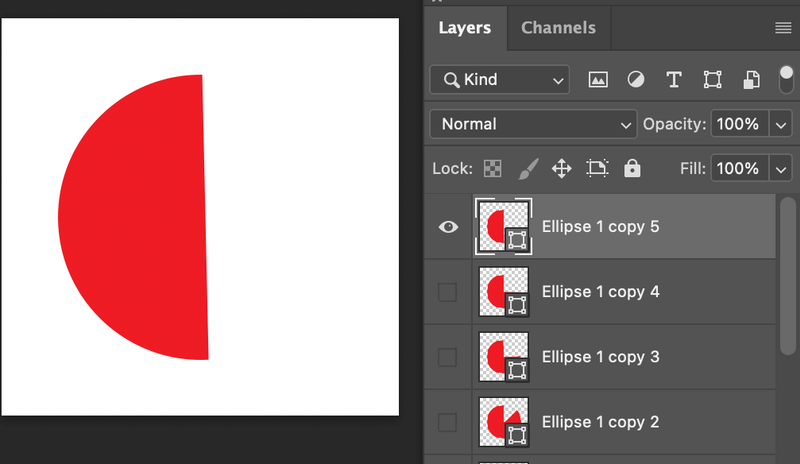
Step 3: Duplicate the layer, and click on the eye icon to hide the original layer (Ellipse 1).
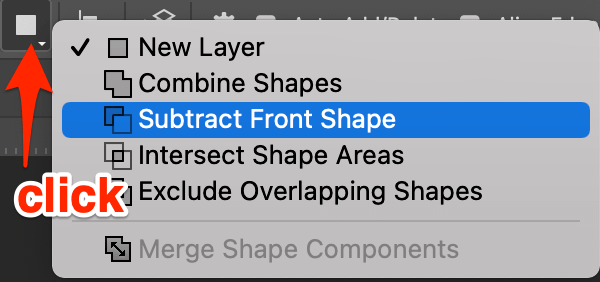
Step 4: Select the Pen Tool from the toolbar, go to the top menu, and choose Subtract Front Shape.
Use the Pen Tool to draw a triangle on the circle, like a cake cut.
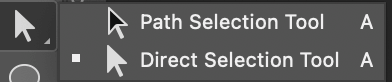
Step 5: Duplicate the Layer and hide other layers. Use the Direct Selection Tool to make the cut bigger by dragging the triangle corner.
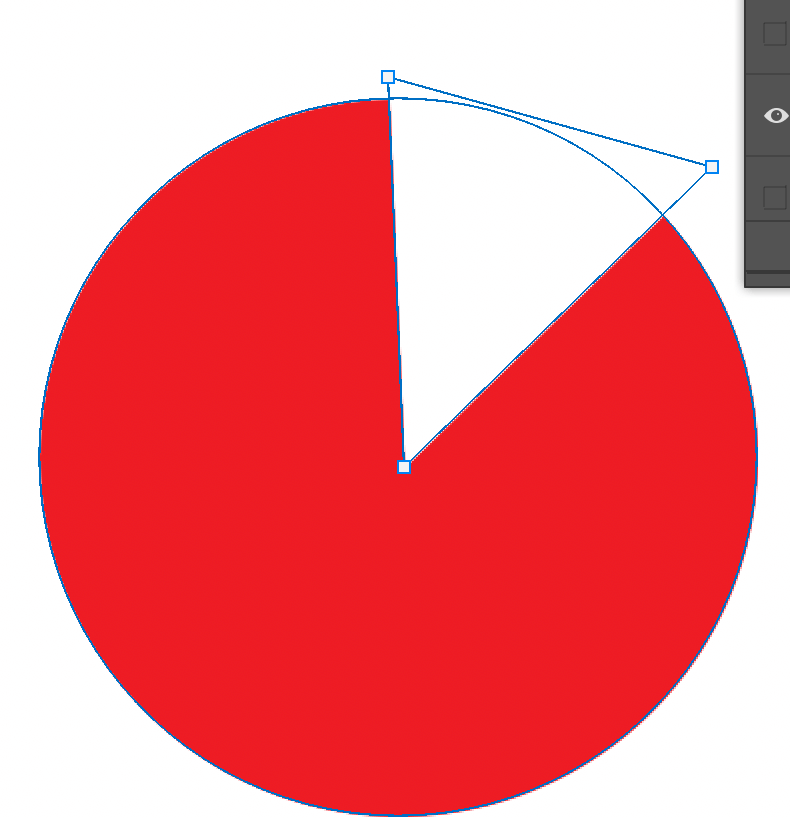
Repeat Step 5 until you have a half-circle.
Step 6: Go to the overhead menu Window > Timeline. The timeline animation working panel should appear.

Select the option Create Animation Frame. Click on the button, and you’ll see the visible layer showing.
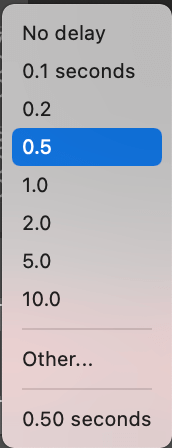
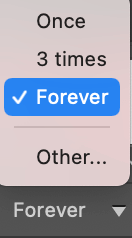
Step 7: Change the time to 0.5s, and select the repeat option forever.
Step 8: Click on the plus icon on the Timeline panel to add new frames.
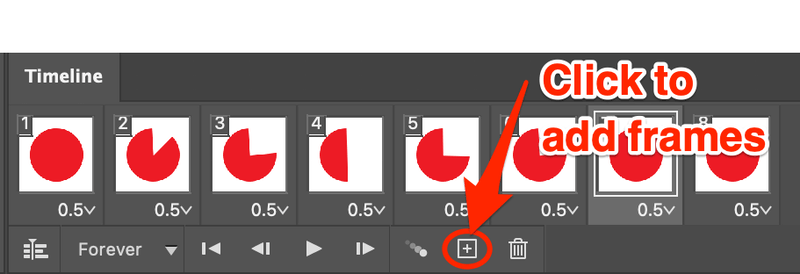
Select the first frame and turn on the first layer (red circle). Select the second frame and turn on the second layer (first triangle cut), repeat this step for all frames.
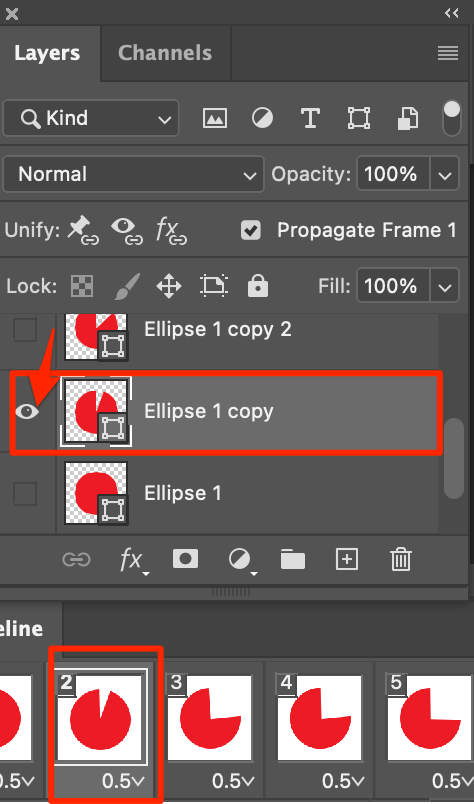
Note: only turn on one layer at a time. When you reach the half-circle, go backward to add the frames again.
Click the play button to see how it looks and adjust accordingly. If you’re happy with the result, go to the overhead menu File > Export > Save for Web (Legacy) to save the GIF. You should see this window.
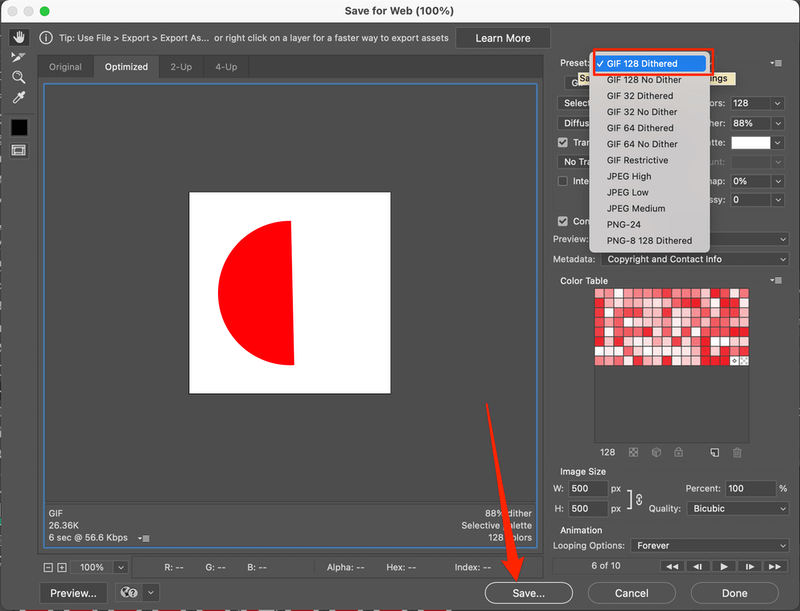
Change the preset to a GIF option and click Save. Now you can name it, choose where you want to save it, and other settings like format.
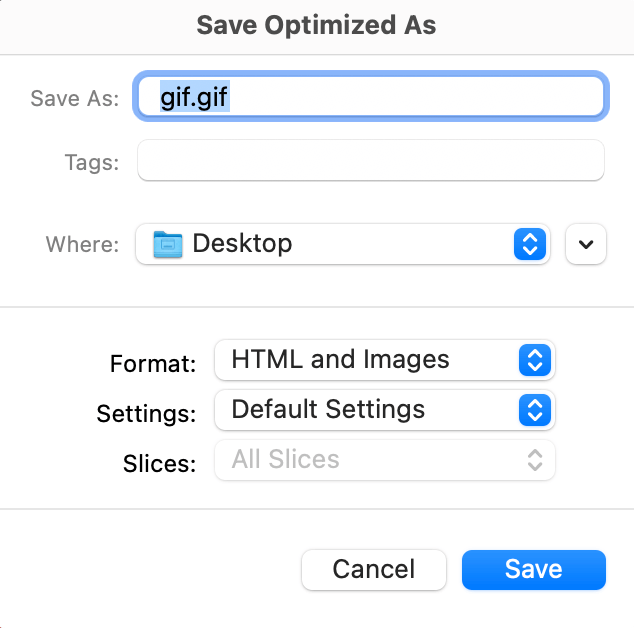
Step 9: Hit and Save button and congratulations, you’ve created an animated gif!

If you want to animate images, check out our tutorial on How to Animate Pictures in Photoshop.
Conclusion
You can use the method above to create gifs for cake cutting, pizza cutting, etc. All you have to do is substitute the red circle with the object you’ll want to make the gif of. It’s always a good idea to customize your gifs with more details rather than using online generators. Plus, it’s super easy to make.
About June